2026-08-06
You have likely scrubbed bathroom tiles until your arms ached, only to find the grout still looks grey and the shower door retains a ghostly film. Chemical sprays promise results but often leave behind a residue and a harsh smell that lingers for hours. A steam cleaner offers a fundamentally different approach. Instead of dissolving dirt with solvents, it uses sustained high temperature—typically over 212°F (100°C)—to emulsify soap scum and break down the bond between hard water deposits and surfaces. For a manufacturer who engineers these devices, the physics is straightforward: when dry, saturated steam hits a cooler tile, it rapidly condenses and transfers latent heat into the microscopic pores of the grout, forcing grime to release. This guide will show you exactly how to clean a bathroom with a steam cleaner, from preparing the room to tackling specific fixtures, while avoiding the mistakes that can damage surfaces.
The primary advantage of steam is its ability to physically remove contaminants without the need for harsh chemicals. Traditional bathroom cleaners rely on surfactants and acids to loosen dirt, but these often require aggressive scrubbing that can wear down grout over time. A steam cleaner that outputs a consistent, high-temperature flow can loosen soap scum, mold spots, and water stains simply by softening the oily binders holding them in place. You then wipe the loosened residue away with a microfiber cloth, leaving no chemical residue behind. This matters most in households with children, pets, or family members who have respiratory sensitivities, where reducing volatile organic compounds in the air is a tangible health benefit.
However, a steam cleaner is not a magic wand. The high heat will not dissolve thick calcium-scale build-up that requires acidic descalers, nor will it effectively neutralize heavy urine deposits inside a toilet bowl. Recognizing these boundaries upfront allows you to use the tool where it excels—sanitizing surfaces, cleaning tight grout lines, and achieving streak-free glass—and rely on targeted chemical treatments only where necessary. For a deeper understanding of the underlying mechanics, you can learn more about how handheld steam cleaners work from principle to application.
Before you begin steaming, you must know what materials can handle thermal shock. The bathroom is a mix of delicate and durable surfaces, and using steam on the wrong one can cause warping, cracking, or permanent etching.
| Safe to Steam Clean | Avoid Steam Cleaning |
|---|---|
| Ceramic and porcelain tile | Unsealed natural stone (marble, limestone) |
| Sealed grout lines | Wooden vanity or cabinetry |
| Glass shower doors and mirrors | PVC plumbing pipes (direct prolonged exposure) |
| Stainless steel and chrome fixtures | Painted walls or wallpaper |
| Acrylic bathtubs (at low steam pressure) | Damaged or cracked glazed ceramics |
The risk with unsealed stone is that superheated moisture penetrates the porous material and expands, causing spalling (surface flaking). Similarly, directing steam at a wooden cabinet can lift the laminate or cause the wood fiber to swell. When in doubt, always test a hidden corner of the surface with a short burst of steam and a dry cloth first. This practical check prevents irreversible damage better than any generic label can promise.
Not all steam cleaners are built to the same performance standard. You may notice that one machine takes seconds to cut through the greasy haze on a glass door while another needs multiple passes. The difference usually comes down to two measurable factors: the sustained steam temperature at the nozzle tip and the pressure that drives that steam into surface pores. A machine that can maintain a tip temperature of around 248°F (120°C) or higher will transfer enough energy to melt solidified soap scum efficiently. Lower-temperature machines, especially those that deliver wet steam rather than dry vapor, tend to leave behind excessive moisture that can dilute the grime rather than lift it. Pressure, measured in bar or psi, dictates how deeply the steam jets can penetrate a grout line. Because bathroom grout is both narrow and often recessed, a higher pressure output—combined with a narrow nozzle attachment—achieves a much deeper clean in a fraction of the time.
A systematic start prevents the common frustration of having to stop mid-cleaning to refill water or find the right brush. Begin by removing all bottles, soap dishes, and loose items from countertops, shower ledges, and the floor. Open a window or turn on the exhaust fan to create a strong airflow; the steam you generate will condense into warm moisture, and ventilation is your primary defense against post-cleaning mildew. Fill the steam cleaner’s tank with distilled water. Distilled water is not a gimmick here—using it prevents mineral scale from building up inside the boiler, which over time will reduce heating efficiency. Attach the brush head you will need first. For general tile walls, a wide nylon brush is appropriate. For grout lines, a narrow concentrator or a stiff grout brush attachment is essential.
The shower enclosure often contains the bathroom’s heaviest accumulation of soap scum and body oils. Begin at the top of the shower wall and work your way down horizontally in overlapping passes. This top-down method lets gravity pull the loosened, warm residue down onto still-dirty areas, preheating them for the next pass and preventing you from having to rewash clean sections. When you reach the grout lines, switch to your narrow nozzle. Hold the tip about an inch from the grout and move slowly along the joint. You will see dark residue begin to run down the tile. Wipe it immediately with a microfiber cloth. For a glass shower door, coat the glass with steam from top to bottom and then, before the glass cools, use a squeegee to pull the emulsified residue off in a single downward stroke. When using steam cleaner models with grout brushes such as the TM168, the stiff circular brush head provides the necessary agitation to lift ground-in dirt from the porous grout without you having to scrub manually. If you have an acrylic tub, reduce the steam output if your model has an adjustable valve, and do not hold the nozzle in one spot for more than a few seconds; acrylic can warp under sustained direct heat above 140°F.
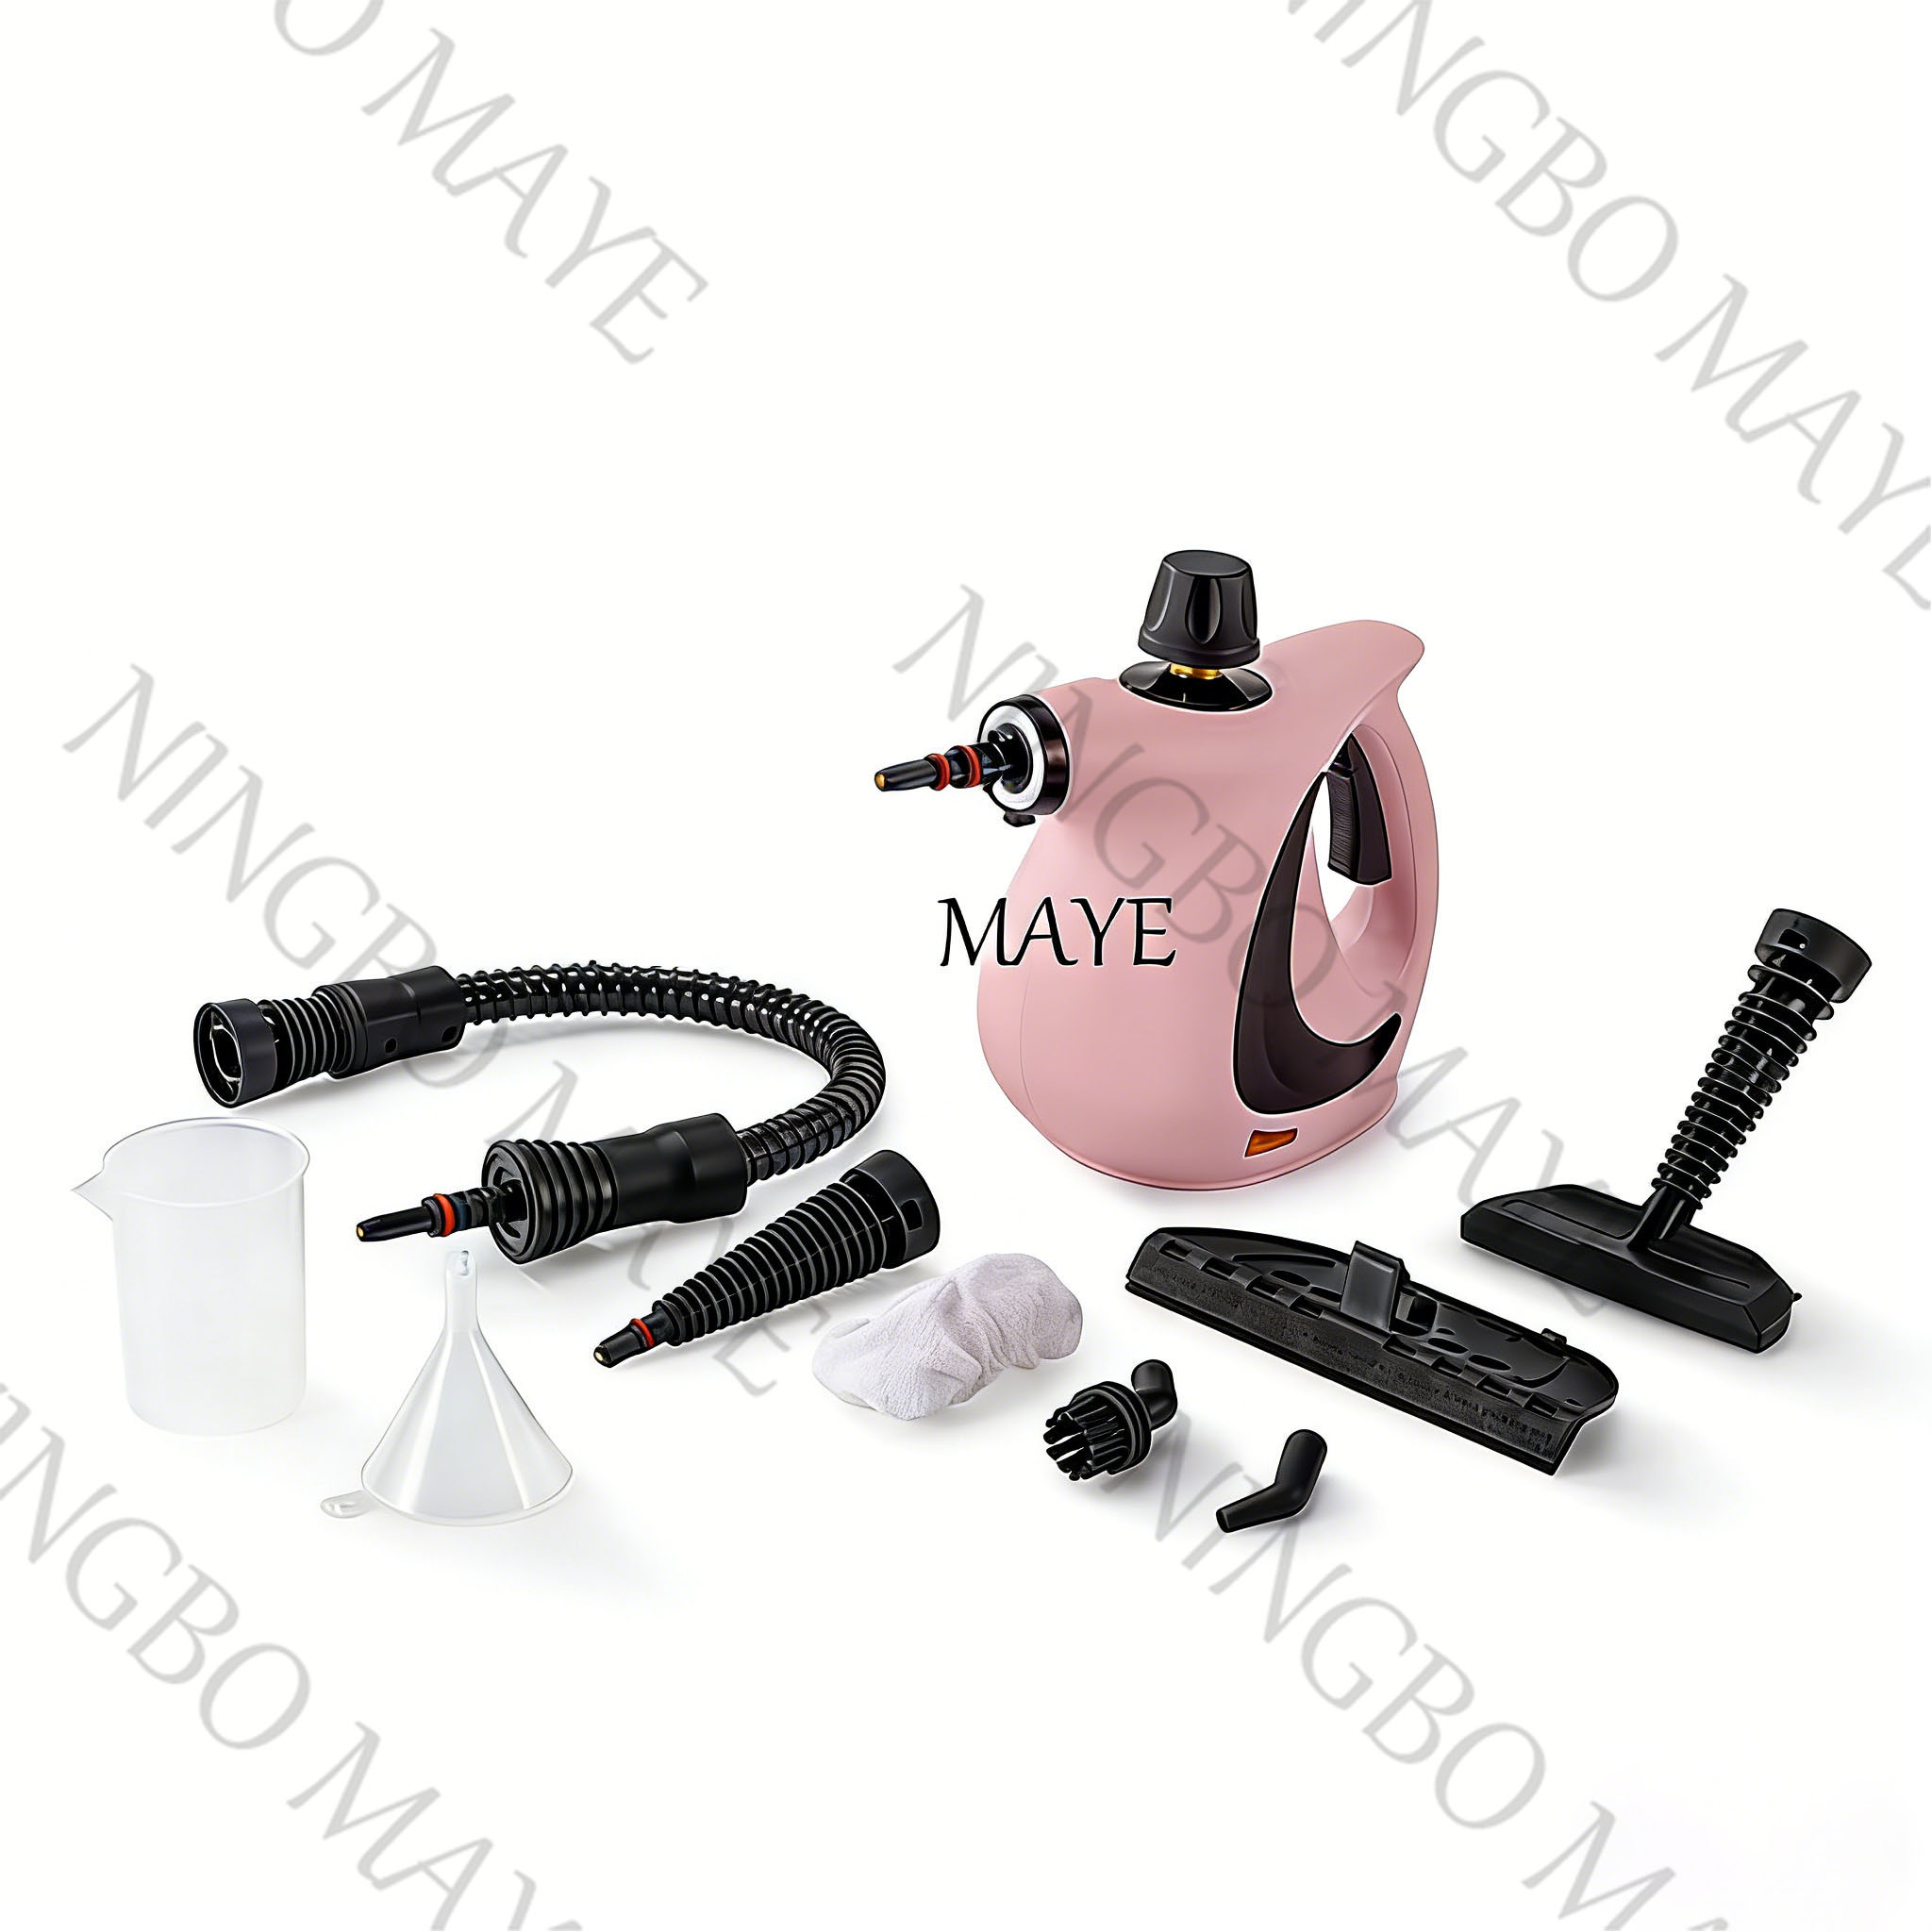
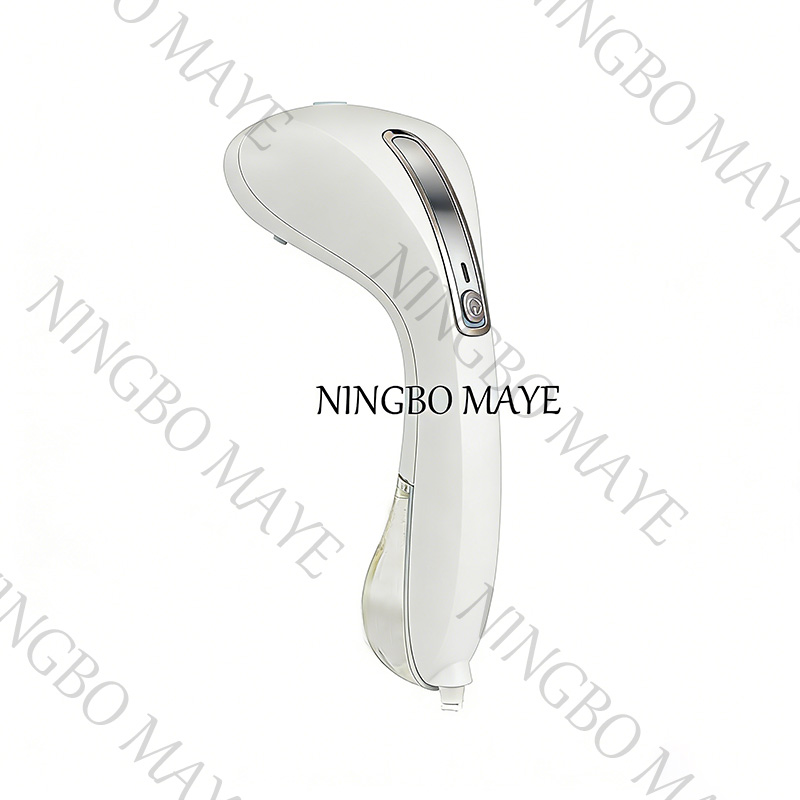
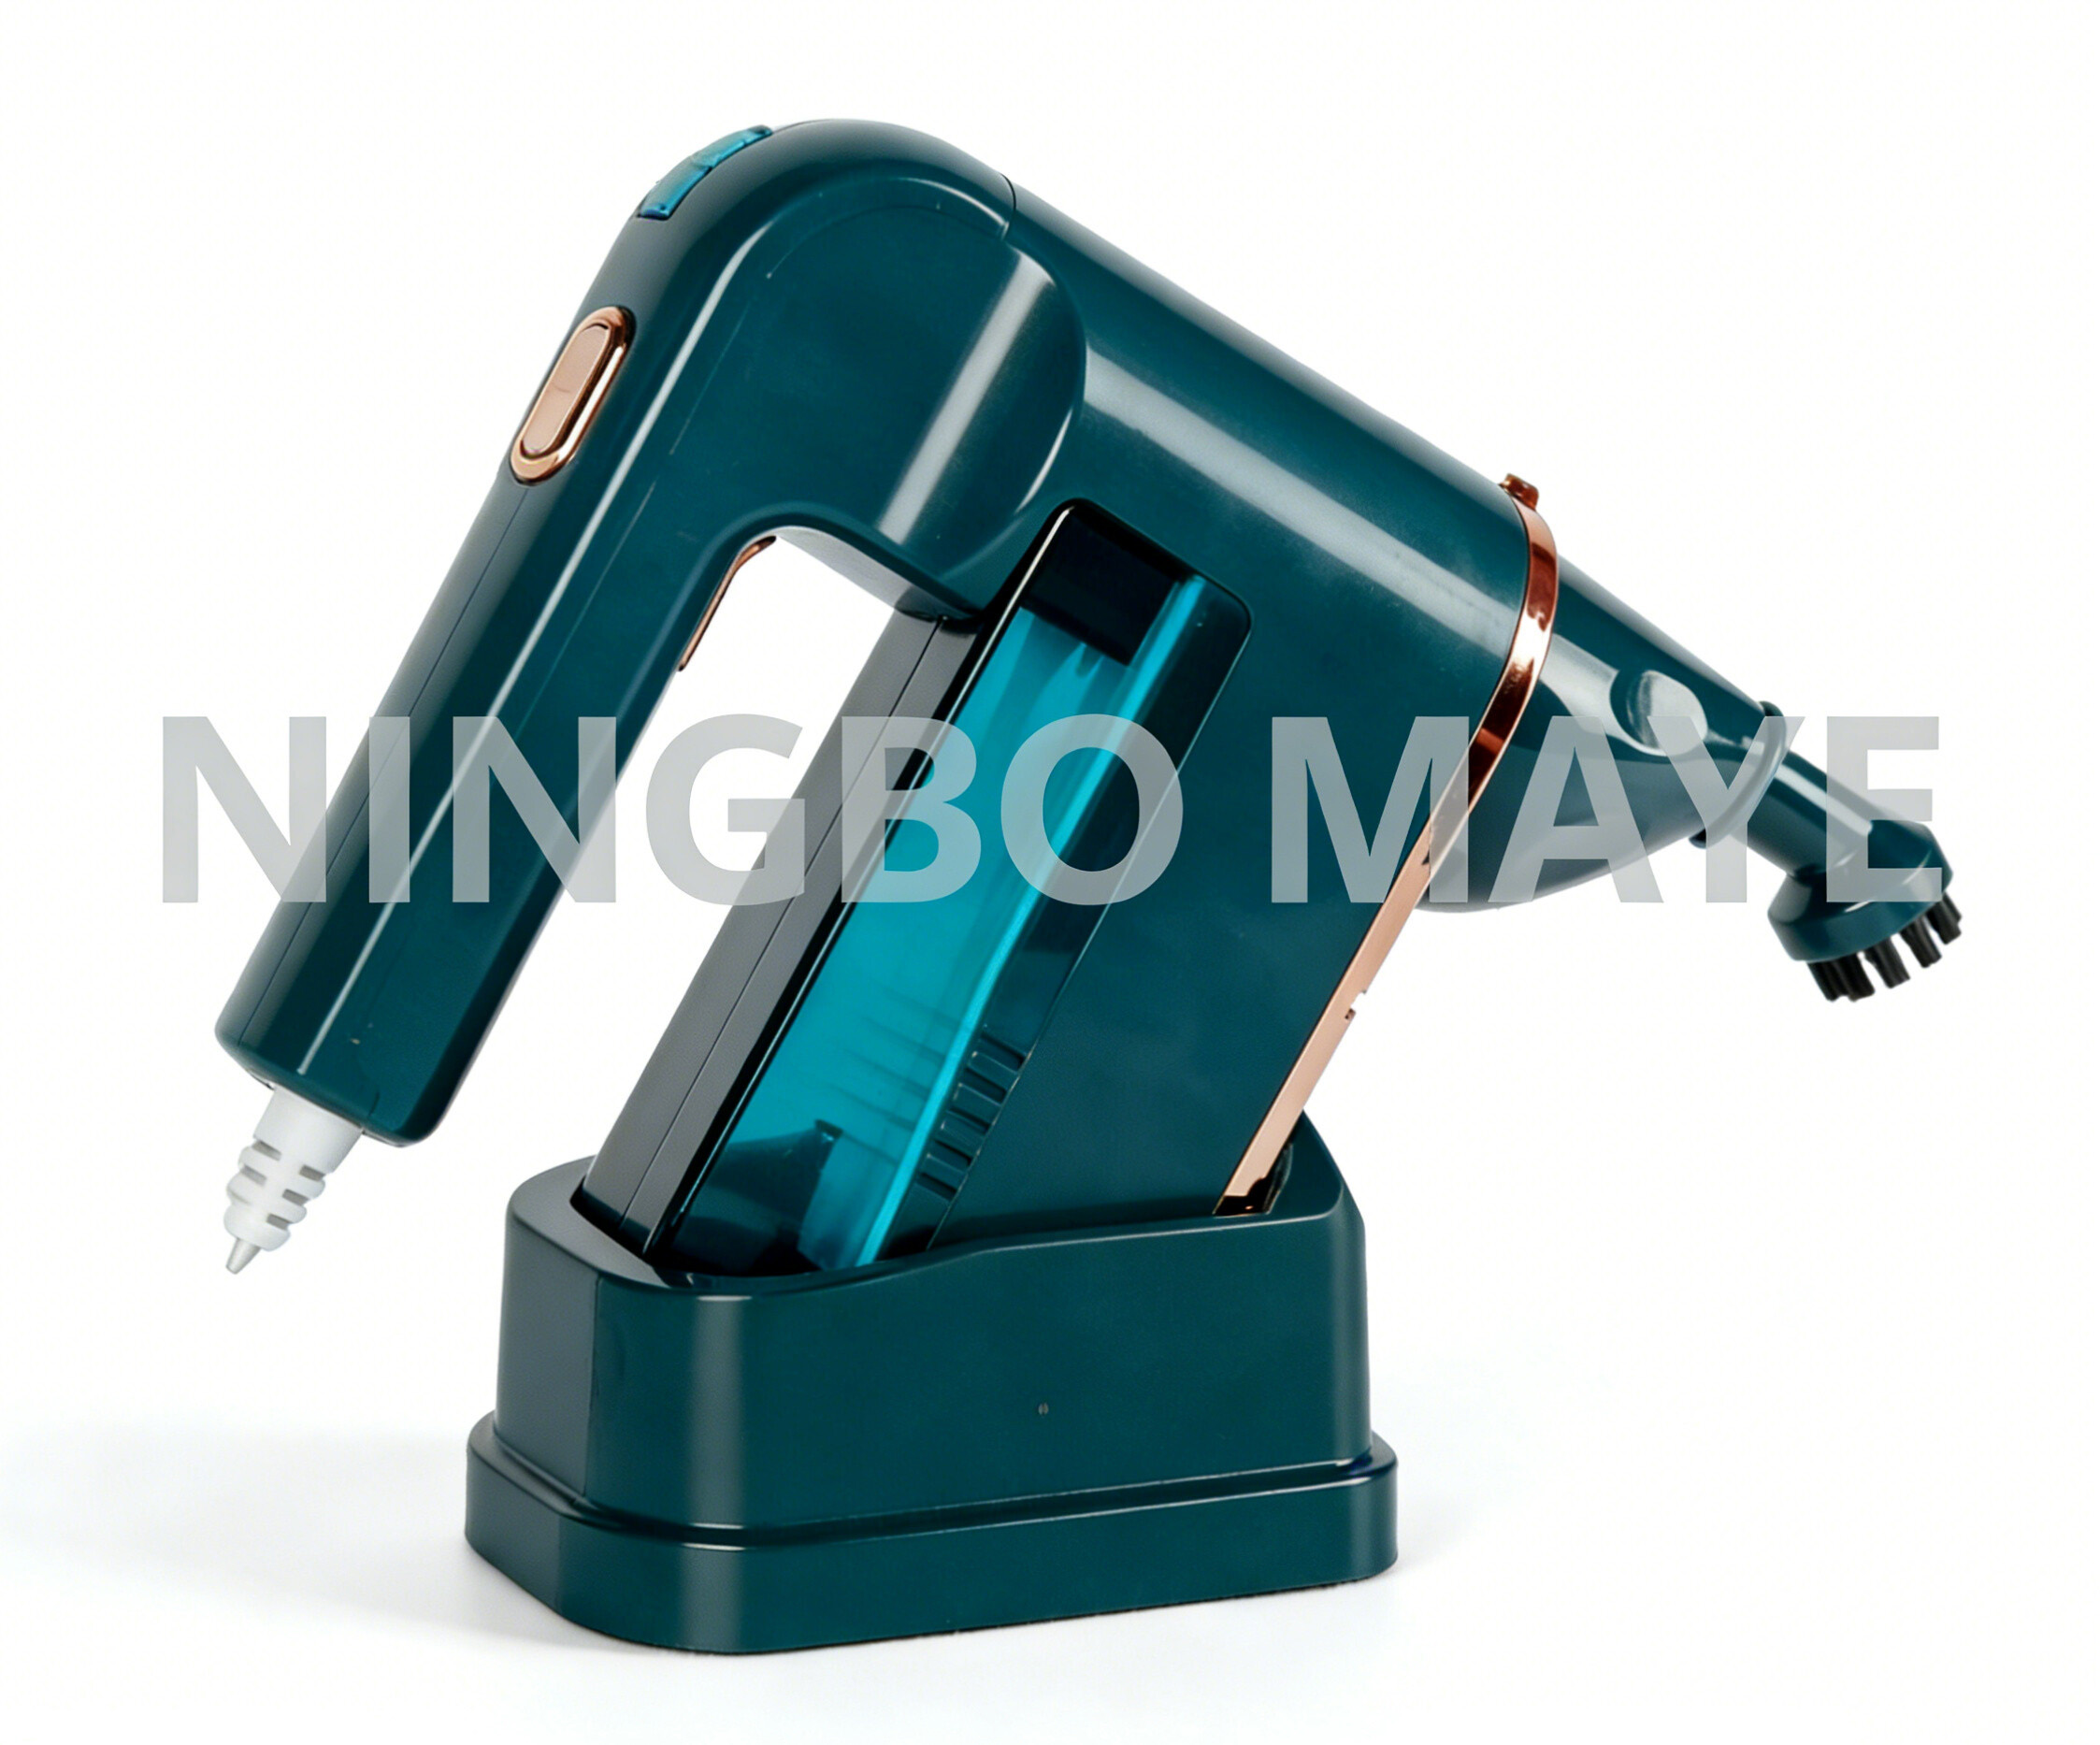
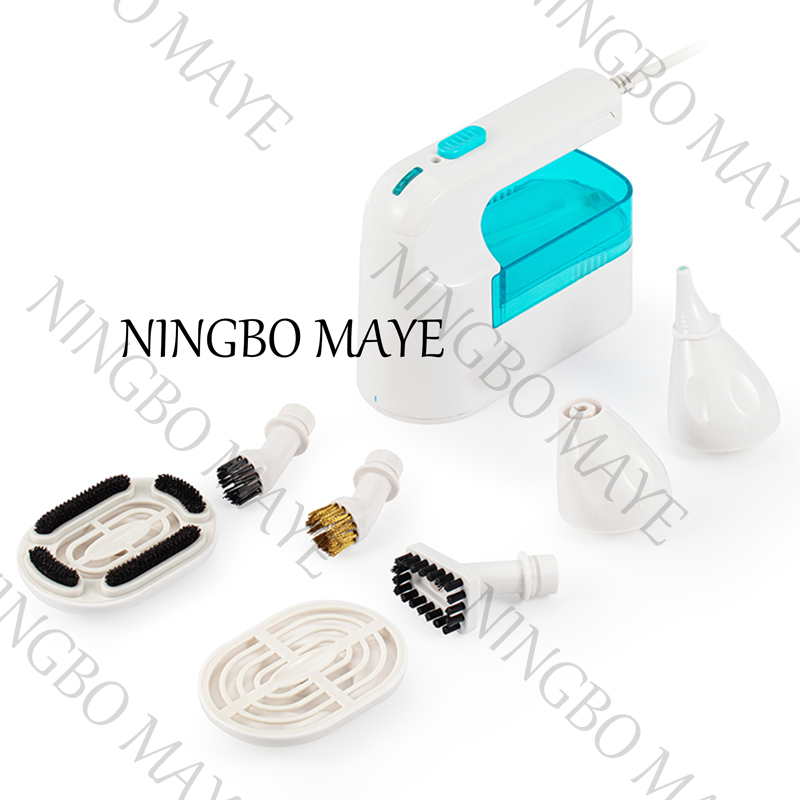
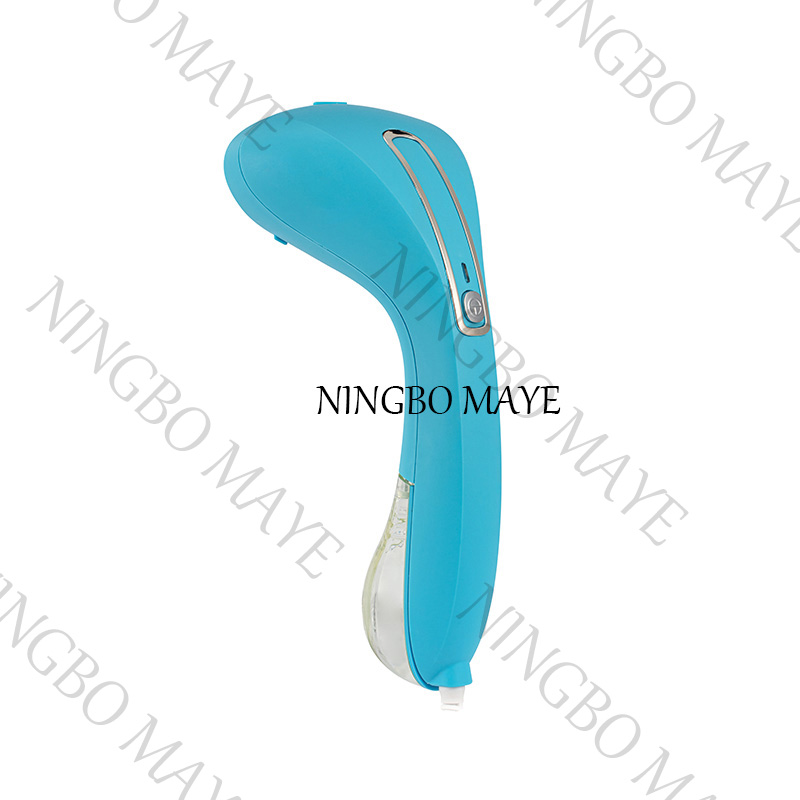 Custom TM-168 1100W 4-in-1 High Temperature Pressure Handheld Steam Vacuum SupplNingbo Maye Electric Appliance Technology Co., Ltd. is China TM-168 1100W 4-in-1 High Temperature Pressure Handheld Steam Vacuum Supplier...View Product →
The toilet exterior, lid, seat, and hinge areas are ideal candidates for steam sanitization. Use a medium-sized brush attachment and cover the surfaces with steam, wiping immediately with a dedicated cloth. For the tight spaces around the seat bolts, a narrow jet nozzle will dislodge hidden grime. Be candid about the boundaries here: for the inside of the toilet bowl, especially below the water line where hard urine scale forms, steam alone is insufficient. You need a chemical toilet bowl cleaner and a brush to remove mineral build-up in the trap. This aligns with what many users discover—steam cleans and sanitizes external areas efficiently, but it does not replace an acid-based descaler for thick internal deposits. For the bathroom sink, pay special attention to the faucet base and overflow drain opening. The junction where the chrome faucet meets the porcelain is a trap for dried toothpaste and soap. Direct a focused steam jet at this seam and follow instantly with a dry cloth to lift the material before it resettles.
Steam is highly effective at clearing the chalky water spots that form on mirror edges and faucet handles, but it demands an immediate finishing step. When you steam a mirror, the fogging effect is rapid condensation. If you let this air-dry, the dissolved minerals in the water will re-deposit and create new water spots. The rule is: steam one section, then dry it with a clean, lint-free microfiber cloth using a circular motion before the section cools. For heavily spotted chrome faucets that look almost frosted, steam will loosen the top layer of scale, but do not expect it to restore chrome that has already been corroded or pitted. The pitting is a mechanical defect in the plating; steam can clean the surface but cannot fill the pits.
Floors should always be cleaned last to catch any drips and dislodged dirt that have fallen during the previous steps. Attach a floor brush fitted with a microfiber cover and start from the far corner of the room. Work backwards toward the door so you are never standing on a freshly steamed floor. The grout lines on bathroom floors often end up darker than wall grout because they are walked on and collect dirt from shoes and bare feet. After steaming, you will see the grout lighten as the dirt suspension is wiped away. Once the whole floor has been steamed, the tiles will be damp but not soaked. Leave the exhaust fan running and the door open for at least half an hour afterward to ensure the floor dries completely to a no-slip condition.
Treat a steam cleaner with the same respect you would give any pressurized, high-temperature appliance. The safety protocols are not complex, but skipping them has immediate consequences.
In reviewing how professional cleaners and homeowners use these machines, a few patterns of error show up consistently. Avoiding these will extend the life of both your bathroom surfaces and your steam cleaner.
Your specific bathroom layout and habits should inform the tool you select. If your primary need is cleaning wall tiles, glass doors, and tight corners, a handheld steam cleaner is the most practical choice. Its lighter weight makes it easy to maneuver vertically, and a range of direct-connect attachments gives you the mechanical scrubbing power needed for grout. For those who want one tool to handle both the bathroom surfaces and then seamlessly transition to steam-mopping the bathroom and kitchen floors, a 2-in-1 or canister model with a floor head is more suitable.
From an engineering perspective, focus on the steam-ready time and the tank capacity. A machine that heats up in under 3 minutes and has a tank capacity of at least 200ml allows you to complete a standard bathroom without a pause to refill and reheat. The real work happens at the nozzle, so pay attention to whether the accessory kit includes a stiff nylon grout brush and a squeegee attachment—two tools that transform the steam output into a comprehensive bathroom-cleaning system. For smaller bathrooms where maneuverability is critical, handheld steam cleaner models like the TMSC001 offer a practical balance of portability and sustained steam output. If you want a more detailed breakdown of what separates effective machines from the rest, read about the key features to consider when choosing a handheld steam cleaner. Exploring a full household steam cleaner range allows you to compare form factors, tank sizes, and included attachments to find the best match for your cleaning routine.
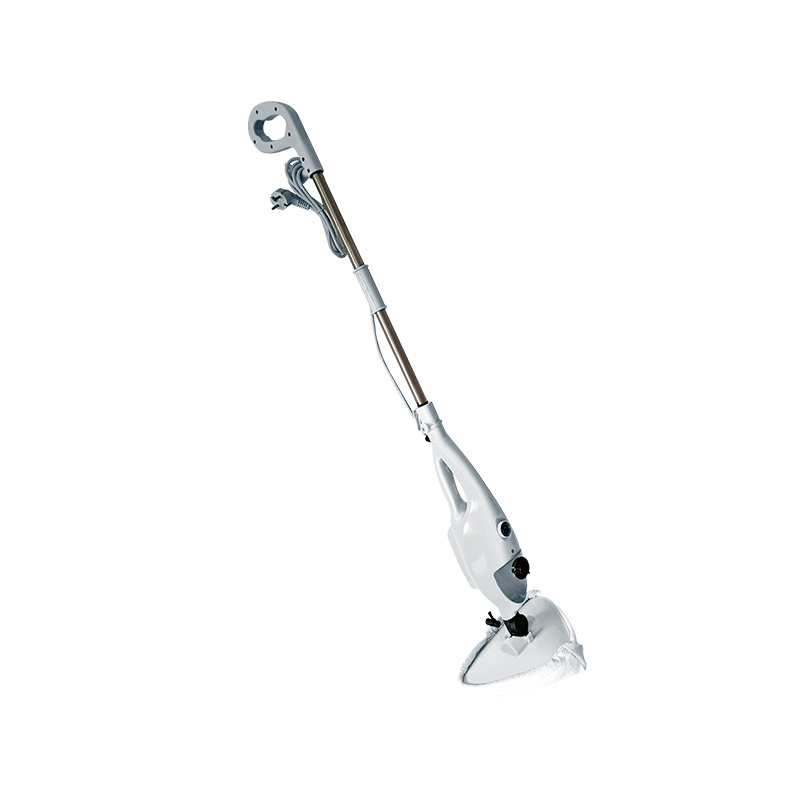
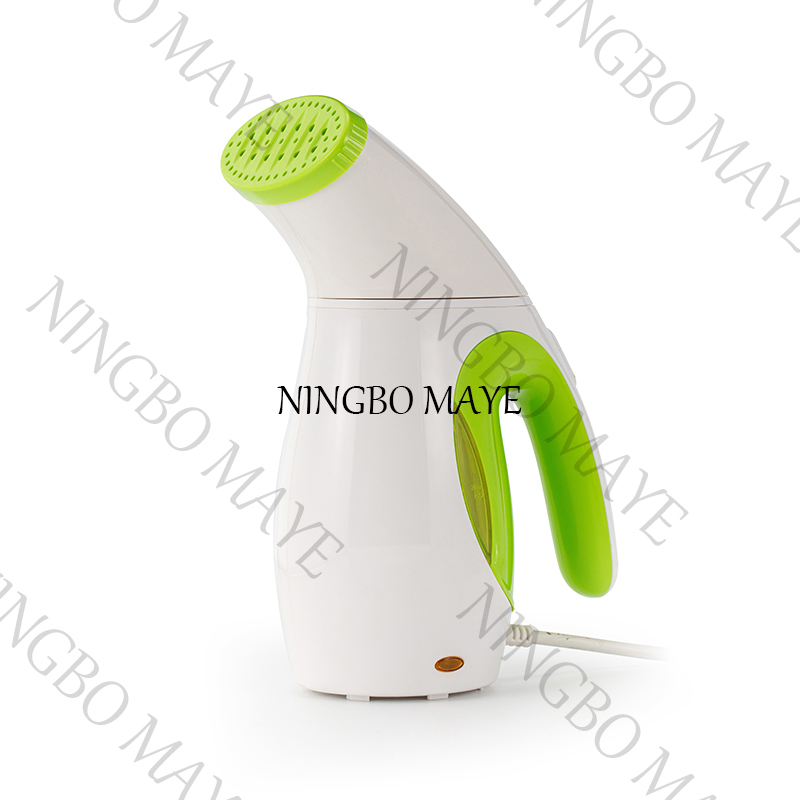
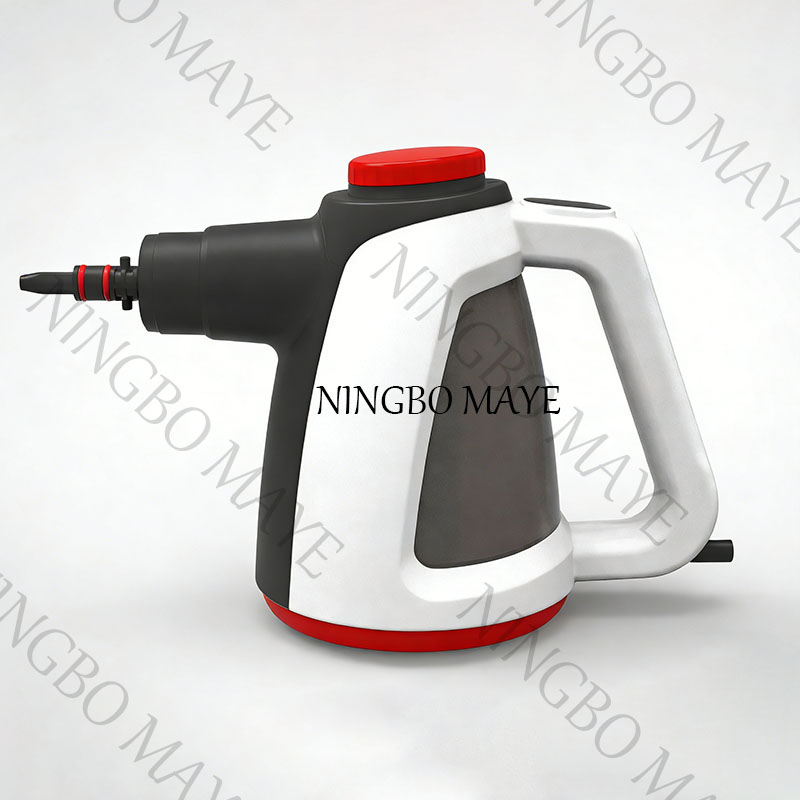 Wholesale Handheld Steam Cleaner Manufacturers, SuppliersMaye Electric Appliance Technology Co., Ltd. is China Household Handheld Steam Cleaner Manufacturers and Suppliers, offer Wholesale All ...View Product →
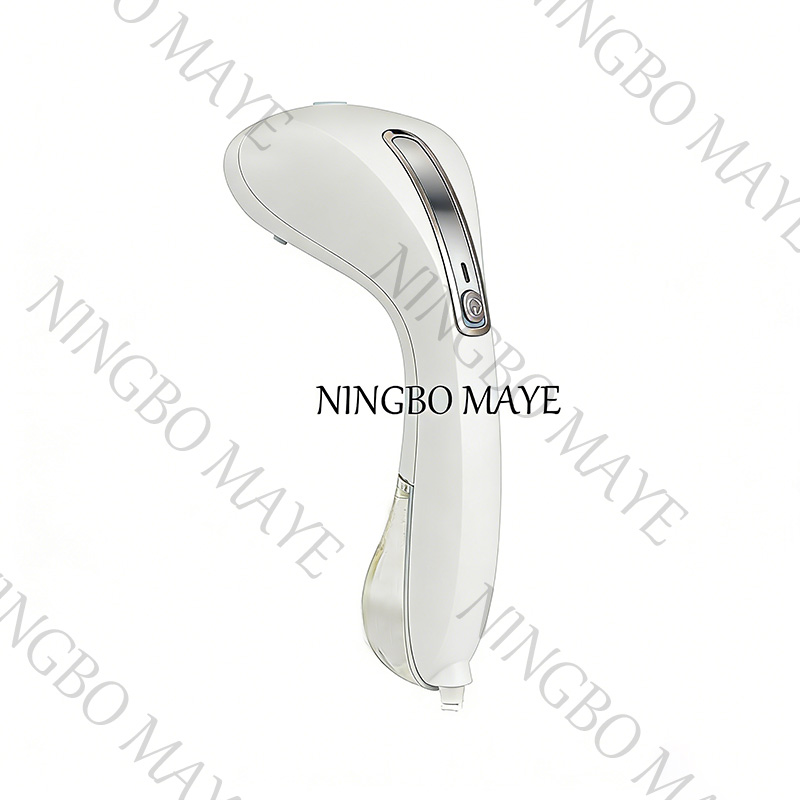
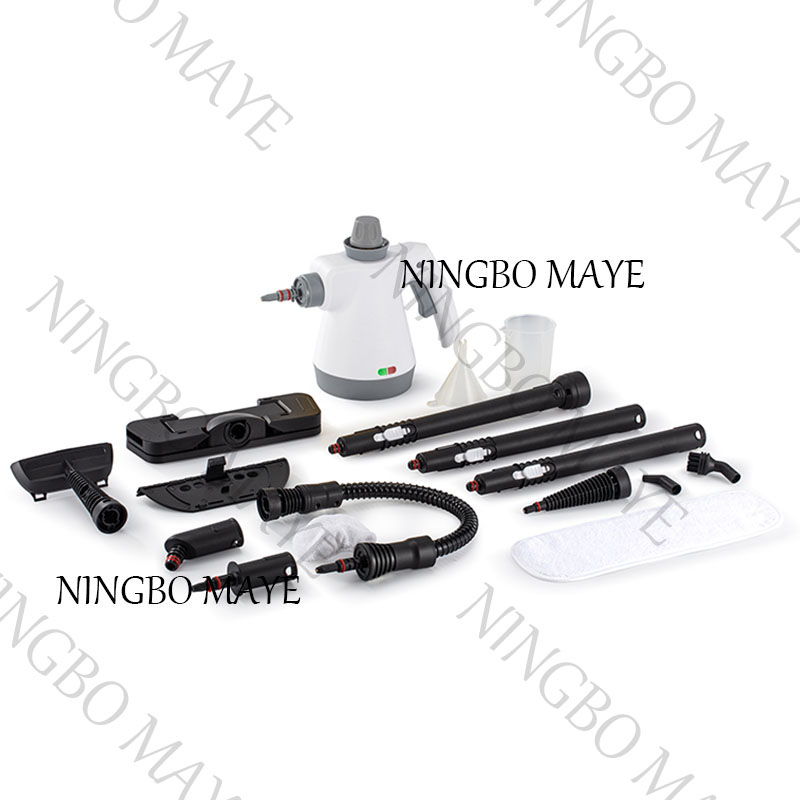 Custom TMSC-001 Multi-function Handheld Portable Electric Steam Cleaner SupplierNingbo Maye Electric Appliance Technology Co., Ltd. is China TMSC-001 Multi-function Handheld Portable Electric Steam Cleaner Suppliers a...View Product →
If your bathroom routine currently involves a different chemical spray for the mirror, tile, sink, and tub—and you still end up dissatisfied with the grout—a steam cleaner consolidates much of that process into a single, residue-free method. The value is clear for anyone who prioritizes reducing household chemicals or struggles with black grout lines that never come clean with spray-and-wipe methods. The upfront cost of a reliable handheld steam cleaner is often offset by no longer buying multiple specialty bathroom cleaners. For a typical family bathroom, a steam cleaner used weekly on high-touch surfaces and monthly as a deep-cleaning tool for grout and glass becomes one of those rare appliances that proves its worth in time saved and chemical odor eliminated. It is not a total replacement for a heavy-duty limescale remover for the toilet bowl, but for the remaining ninety percent of bathroom surfaces, it is the more physically direct and efficient way to clean.
Related Products

Address
East Zone Development Zone Lingshan Town Yuyao City Zhejiang P.R.C.
Tel
+86-18905840666 / +86-574-62067822
+86-15905848828
QR CODE
 Wholesale Multifunctional Steam Cleaner Manufacturers

 English
 Español