2026-08-20
Picture this: you have just unpacked a new steam cleaner, filled its water tank, waited for the indicator light to change colour, and now you are standing in the middle of the kitchen wondering where to point the nozzle first. This guide answers that question in practical terms. A steam cleaner heats water into pressurised vapour and delivers it through a narrow nozzle, softening grease, soap scum, dried food, and sticky residues without relying on detergent. It works on ceramic tile, grout, glass, sealed hardwood, carpets, stainless steel, and many fabrics, but it also has genuine limits: unsealed wood, delicate leather, and certain plastics can be damaged by direct steam. The way to get real value from the machine is to understand those boundaries, choose the right attachment, and develop a consistent sequence for each room. Below you will find a step-by-step method that moves from basic technique to surface-specific advice, followed by the maintenance routine that keeps the machine reliable for years.
Steam cleaning is not magic; it is a combination of heat, moisture, and mechanical wiping. The machine boils water in a sealed boiler tank, producing vapour at a temperature that is typically above 100°C. When that vapour hits a cooler surface, it condenses back into hot water, releasing heat into the dirt layer. The heat melts wax, grease, and oily fingerprints; the moisture rehydrates dried stains; and the small amount of pressure from the nozzle pushes the loosened material away from the surface. A microfiber cloth or brush then removes what the steam has released. In short, steam does the heavy lifting, but the cloth does the final collection.
Understanding this sequence matters because it explains why a steam cleaner is not a magic wand that dissolves every stain instantly. On a greasy range hood, for example, you need to let the steam work for a few seconds before wiping. On a tile floor, you need to wipe while the surface is still warm, or the loosened dirt will simply dry in place. The machine is a delivery system for controlled heat and moisture, and the attachments determine how precisely that heat is aimed.
If you want the full technical background, including the differences between boiler systems, pump pressure, and nozzle shapes, our article on how a handheld steam cleaner works from principle to application covers the engineering in more detail. For the purposes of this guide, the operating principle is simple: the machine heats a small amount of water continuously and lets you direct the resulting steam through attachments that suit each cleaning task.
One important distinction to keep in mind is that steam cleaning is a surface refresh method, not a deep extraction method. It removes surface soil, oils, bacteria, and light stains from hard surfaces and fabrics, but it cannot replace a carpet shampooer when embedded dust has worked its way deep into the pile. On the other hand, steam cleaning has a major advantage: it works without leaving chemical residue behind. That makes it especially attractive in kitchens, bathrooms, children's play areas, and pet zones.
Before you steam anything, you need to confirm that the surface can handle heat and moisture. The most reliable source is the printed instruction manual that came with your steam cleaner, because manufacturers usually list approved surfaces and any restrictions. If you no longer have the manual, the next step is a simple spot test in an unobtrusive area. Apply steam for two or three seconds, wait a minute, then inspect for discolouration, swelling, or a dull finish.
For floors, check whether the surface is sealed. You can perform a quick water-drop test: place a few drops of water on the surface and observe. If the water beads up, there is a protective seal; if the water soaks in quickly, the wood or stone is porous and steam should not be used directly. This test takes less than ten seconds and can save you from a costly repair.
For upholstery and clothing, look at the care label before steaming. The letters indicate which cleaning method is safe: W means water-based cleaning is allowed, S means solvent-only products are required, SW means both are acceptable, and X means no liquid cleaning should be used at all. Since steam is a water-based method, only W and SW fabrics should be steamed. S and X fabrics should be left to professional cleaners.
The table below summarises common surfaces you will encounter at home and how they react to steam.
| Surface | Steam Safe? | Practical Notes |
|---|---|---|
| Sealed ceramic tile | Yes | Steam softens soap scum and grout dust. Wipe with a dry microfiber cloth after steaming. |
| Sealed hardwood | Cautious | Use a damp cloth over the floor head. Keep the steam jet moving and avoid pooled water. |
| Laminate flooring | Cautious | Check the manufacturer's guidance. Steam can cause edge swelling if moisture seeps into seams. |
| Carpet | Yes | Use a carpet glider attachment. Vacuum first and work in short bursts. |
| Natural stone | Depends | Only if the stone is sealed. Test a hidden spot first and avoid polished marble. |
| Unsealed wood | No | Heat and moisture can raise the grain of unsealed wood and leave permanent marks. |
Once you have confirmed that a surface is safe, the actual cleaning routine follows a simple pattern: fill the tank, choose the attachment, steam in one hand, wipe with the other, and move across the surface in small sections. The order matters because steam cools quickly once it leaves the nozzle, and if you cover too large an area before wiping, the dirt can reattach.
Use distilled or demineralised water whenever possible. Tap water contains calcium and magnesium, which slowly accumulate inside the boiler and block the steam outlet over time. Distilled water costs a little more, but it reduces the frequency of descaling and keeps the steam pressure consistent. If you use tap water, expect to descale the boiler more often and watch for white powder being sprayed onto your surfaces.
Never use hot or boiling water in the tank. Many machines specify cold water because the internal pump and valves are designed for a certain inlet temperature. Adding hot water can damage seals, create pressure spikes, and overheat the handle. Also avoid adding soap, perfume, or chemical cleaning agents unless the manual explicitly allows it. Cleaning agents can create excessive foam, damage the pump, and leave sticky residue on the very surfaces you are trying to clean.
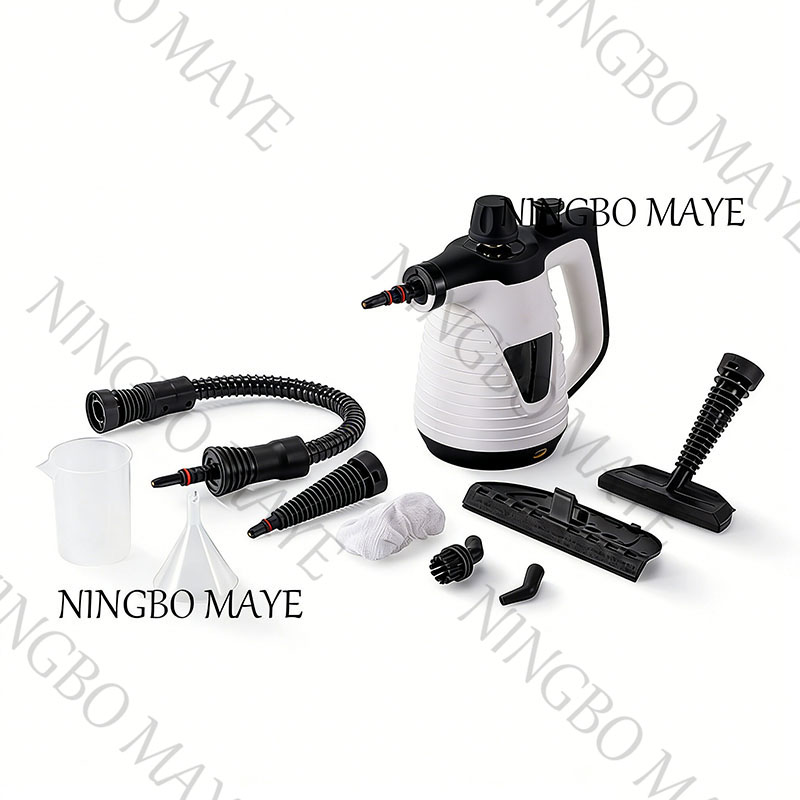
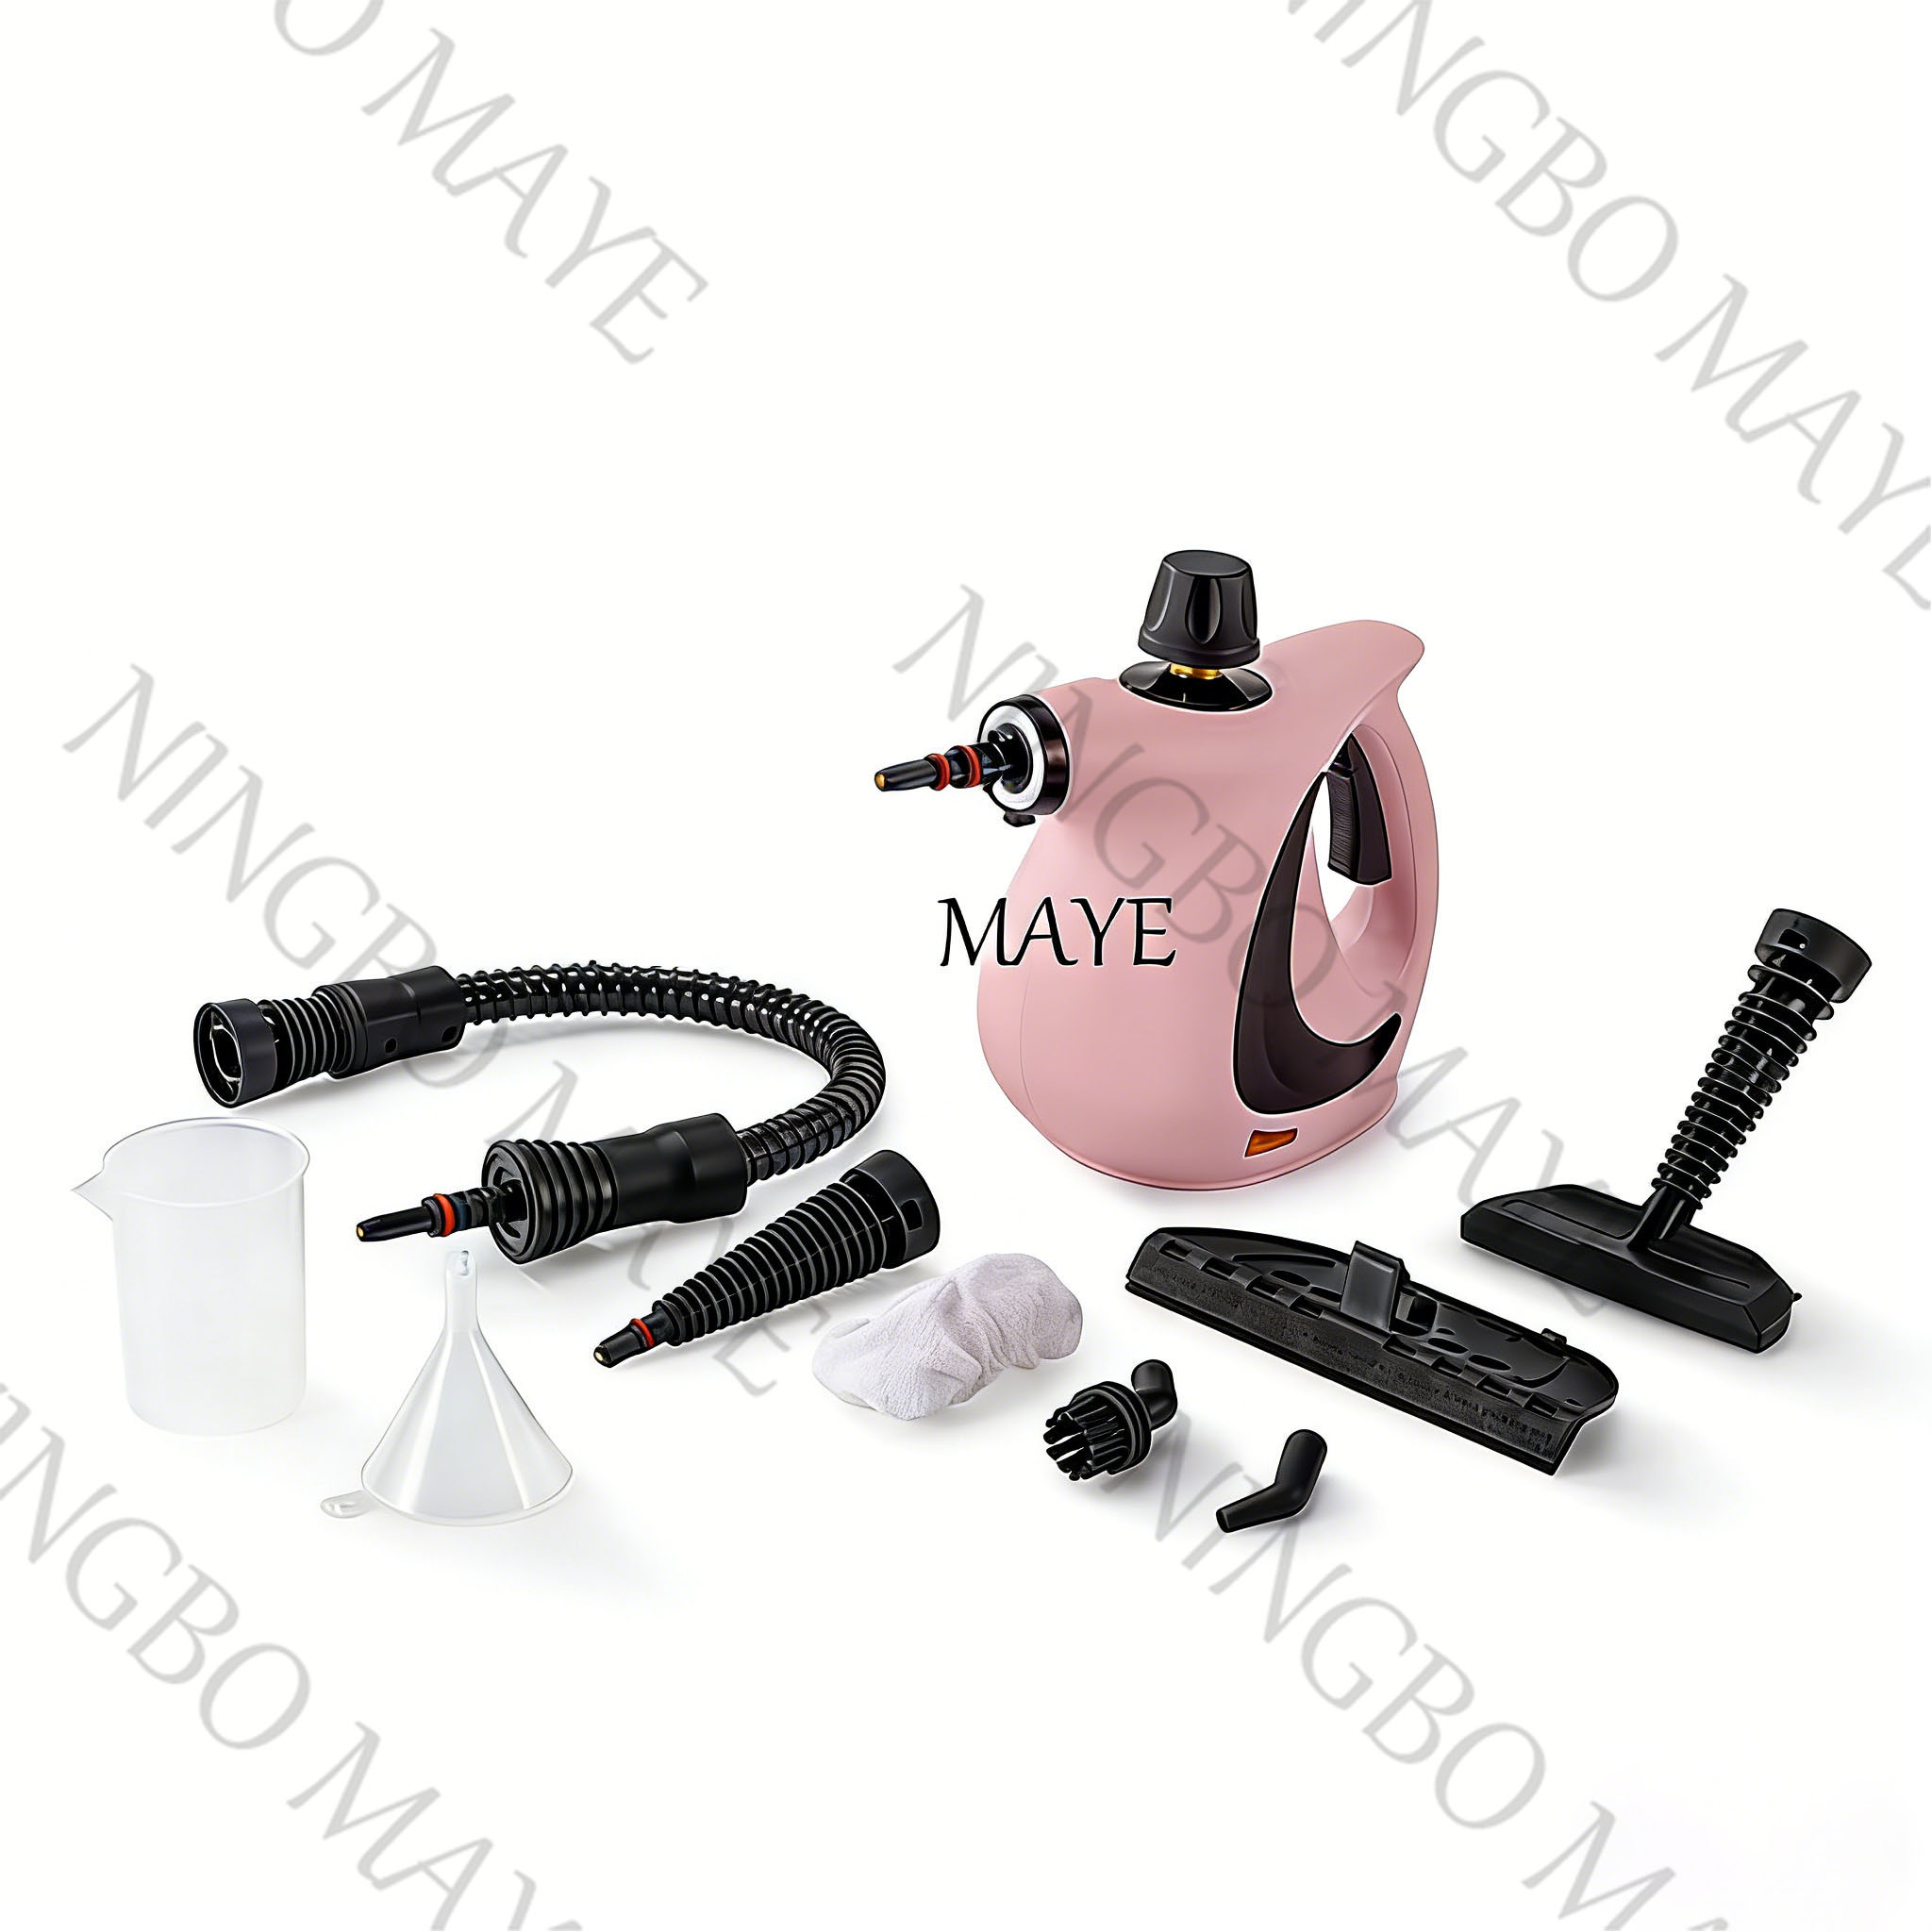
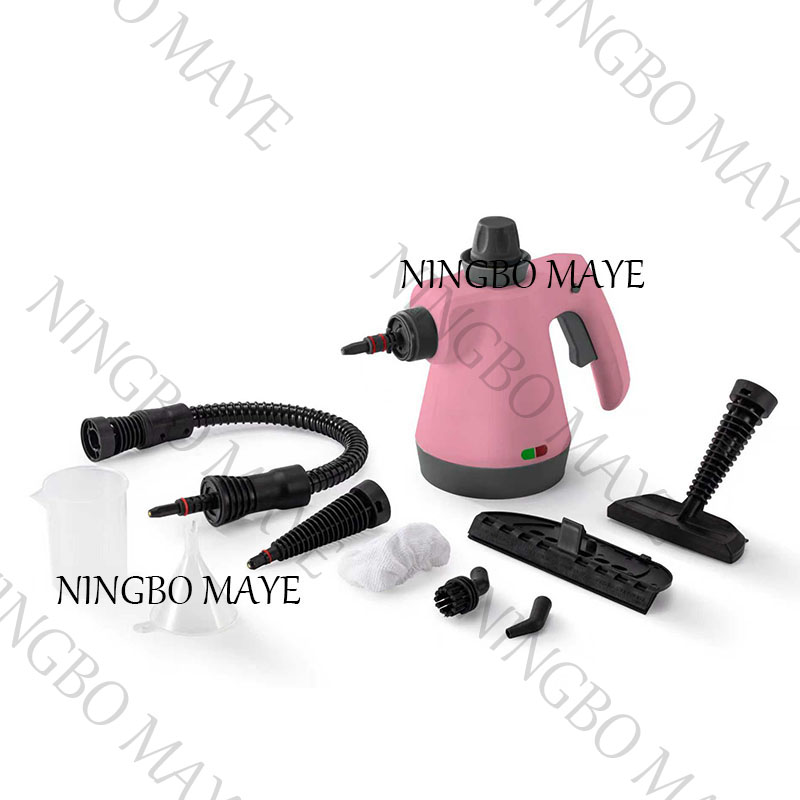
The attachment changes how the steam is distributed, and using the wrong one is the most common reason people find steam cleaning ineffective. The small detail nozzle concentrates steam into a thin jet that can reach cracks, grout lines, and tight corners. The brush attachment adds mechanical scrubbing for greasy cooktops, tile grout, and outdoor furniture. The squeegee attachment works on windows and mirrors by delivering steam and then scraping off the dirty water in a single pass. The floor mop attachment with a microfiber pad covers a wide area and is the fastest way to clean hard floors. Finally, the fabric steam nozzle, usually fitted with a cloth cover, distributes steam gently for curtains, clothing, and upholstery.
Before you start a room, choose the attachment that matches the dominant surface. If you are doing multiple surfaces, it is faster to group similar tasks than to swap attachments after every minute of cleaning.
The most reliable technique for hard surfaces is a two-step pattern. First, apply steam to a small section, roughly one to two square feet. Second, wipe the surface immediately with a dry microfiber cloth. The cloth picks up the dirt that the steam has lifted, and it also removes the remaining moisture so no water spots form. This pattern is particularly important on stainless steel, glass, and dark coloured floors.
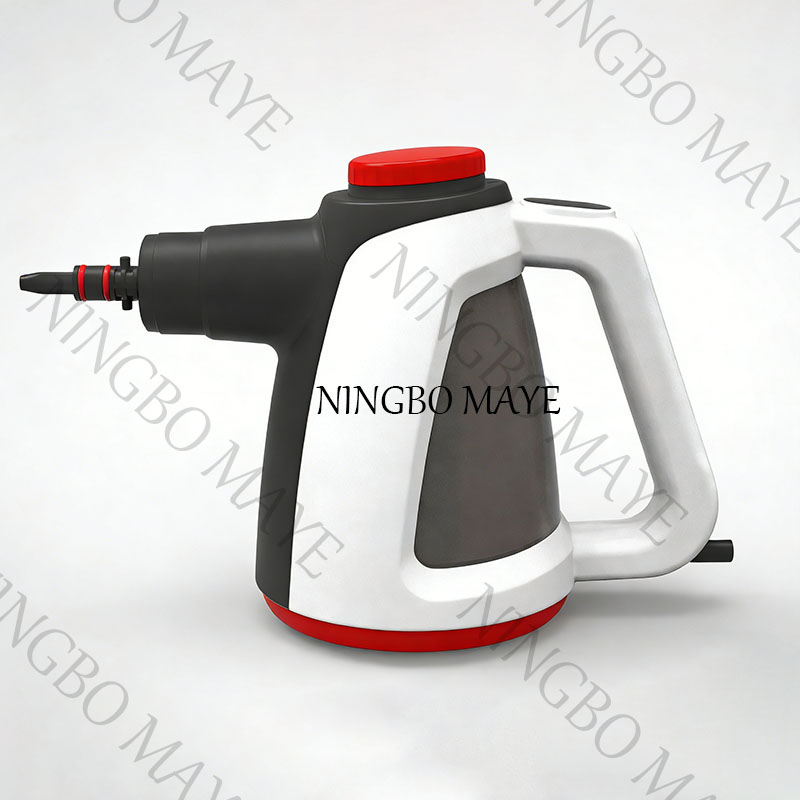
For stubborn deposits, hold the nozzle close to the surface without touching it, and let the steam sit on the stain for three to five seconds. The prolonged heat gives the steam time to soften the material. Then return with a brush or cloth. On a handheld unit such as the TM168 handheld steam cleaner, the trigger is usually placed under the index finger while the tank sits directly beneath your palm. This grip gives you precise control on countertops, range hoods, and vertical surfaces.
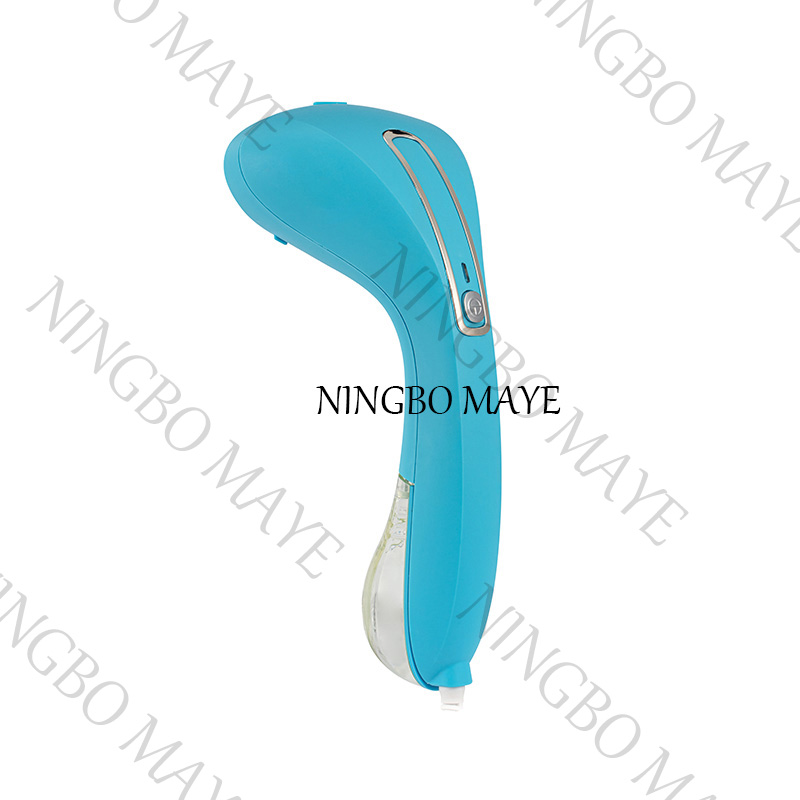 Custom TM-168 1100W 4-in-1 High Temperature Pressure Handheld Steam Vacuum SupplNingbo Maye Electric Appliance Technology Co., Ltd. is China TM-168 1100W 4-in-1 High Temperature Pressure Handheld Steam Vacuum Supplier...View Product →
Do not hold the trigger down continuously while moving slowly. Steam will condense and drip from the nozzle if it is not aimed at a surface, and pooled water will cool before it can do any cleaning. Use short bursts of steam, wipe the area clean, and move to the next section.
Floors are the first place most people try their steam cleaner, and they are also where the technique matters most. The wrong move can leave streaks on tile or swollen seams on laminate. The right process combines vacuuming first, choosing the correct attachment, and finishing with a dry pass.
Ceramic tile is one of the best surfaces for steam cleaning because it is non-porous, heat tolerant, and easy to dry. Begin by sweeping or vacuuming up loose dust and grit. Then fit the brush attachment and direct steam along the grout lines, which is where soap scum and dark staining usually build up. Keep the brush moving steadily; the steam will soften the grime, and the brush bristles will lift it out of the crevices. After you have covered a small section, wipe the floor with a microfiber cloth or use a floor mop attachment to collect the released dirt. For heavily discoloured grout, repeat the process two or three times rather than trying to remove all the staining in one pass.
One practical detail: grout that has started to crumble or crack should not be blasting with high-pressure steam, because the steam can loosen the surrounding pieces. If your grout is already failing, repair it first and then steam clean the repaired area.
Sealed hardwood and laminate can be steam cleaned, but only if you are disciplined about two things: keep the steam moving and never let water pool on the surface. The main risk is that moisture finds a path through a scratched seal, an unsealed edge, or a tiny gap between planks, causing the wood to swell and the finish to lift. For this reason, the best approach is to use a floor mop attachment with a microfiber pad rather than a handheld nozzle. The pad spreads the moisture over a wide area and dries it quickly.
A practical rule of thumb is to test an inconspicuous corner of the room before committing. Steam for ten seconds over a 50 cm section, then wipe and inspect the area. If the finish becomes cloudy or the seam between boards shows any hint of moisture, stop and switch to a slightly damp mop instead. Some laminate manufacturers explicitly void warranties if steam has been used on their products, so check your floor's documentation before proceeding.
Steam cleaning a carpet is not the same as renting a deep carpet extractor. A steam cleaner delivers heat and moisture to the upper layers of the pile, which makes it effective for refreshing the surface, neutralising odours, and lifting fresh stains. It will not remove deeply embedded dust, sand, and pet hair that have settled at the base of the pile. Vacuum thoroughly before you steam any carpet.
Most steam cleaners come with a carpet glider attachment, a flat plate that slides over the pile and distributes steam through a cloth. Sweep the glider slowly in overlapping passes, but do not press down firmly; extra pressure forces water deeper into the backing. After you finish a section, you can speed up drying by running a dry microfiber cloth over the carpet or simply leaving a fan pointing at the area for twenty minutes.
Not all stains respond to heat in the same way, and this is where many people go wrong. Protein-based stains, such as blood, milk, sweat, or pet urine, can be cooked into the fabric by steam. The heat reacts with the protein in a way that changes its structure and makes it permanently visible. For these stains, the correct sequence is to blot the stain with cold water first, remove as much moisture as possible, and only then decide if steam is still appropriate. On carpet that has been treated with a cold-water stain remover, a short burst of steam can help lift the residue, but the stain should be gone before heat is introduced.
Oil-based stains, on the other hand, respond very well to steam. Grease, cooking oil, wax, and chewing gum all melt when heated, and steam can push them out of carpet fibres. First scrape away any solid material with a blunt knife, then apply steam directly to the remaining mark, and blot with paper towels. You may need to repeat this several times, moving to a clean part of the towel each time so the melted grease is absorbed rather than smeared.
If you find yourself using your steam cleaner for floor work on a regular basis, look for a model that is designed for that kind of repetitive job. The TM388 steam cleaner in our household range is a common example of a model that belongs to this category, and with a floor mop attachment it covers large areas without making you work on your hands and knees.
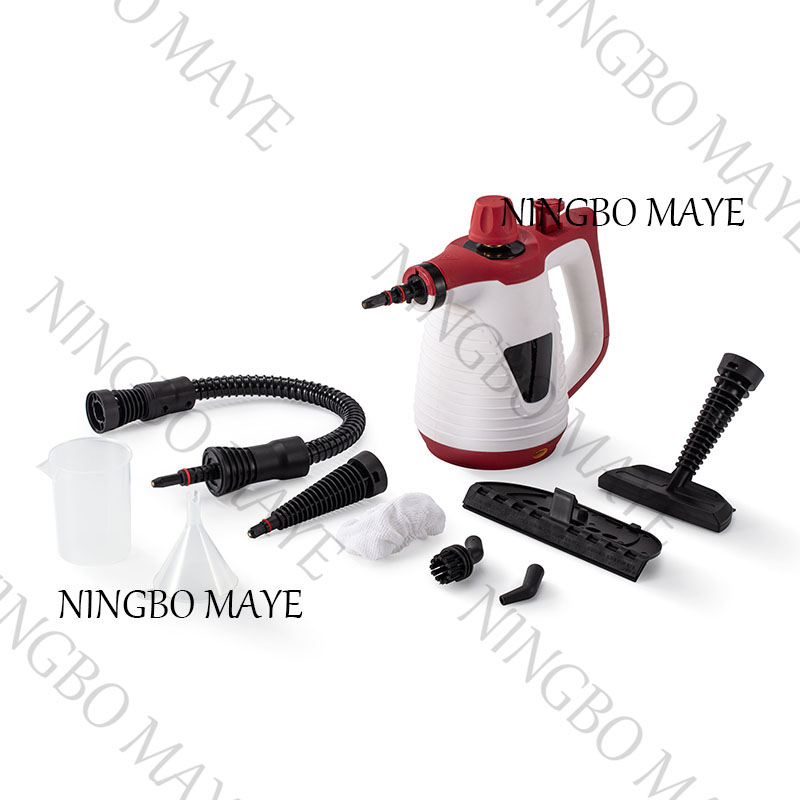 Custom TM-388 Handheld Multi-Surface Natural Steam Cleaner for Home Use SupplierNingbo Maye Electric Appliance Technology Co., Ltd. is China TM-388 Handheld Multi-Surface Natural Steam Cleaner for Home Use Suppliers a...View Product →
The kitchen is where steam cleaning delivers some of its most satisfying results, because the combination of grease, cooking splatter, and dried food is exactly what heat and moisture can break apart without a spraying chemical cleaner. But the kitchen also contains electrical appliances, heat-sensitive surfaces, and materials such as natural stone that need extra caution. Work methodically through each zone.
Quartz, sealed granite, tile, and stainless steel countertops can all be steam cleaned, provided the seal is intact. Direct the steam at the surface and wipe immediately with a dry cloth. For backsplashes covered in fine cooking mist, steam effectively lifts the oily film, but you should always finish by drying to avoid water spotting on darker materials. Unsealed porous stone such as some marble varieties should not be steamed, because moisture and acidity in the water can dull the polished finish over time.
Stainless steel is another strong candidate for steam, because steam dissolves fingerprints and dried splatters without leaving the sticky residue that some spray cleaners leave behind. Hold the nozzle a few centimetres away from the surface, apply steam to one panel at a time, then wipe with a clean microfiber cloth, following the grain of the steel. Do not use a brush on fine brushed stainless finishes, because the abrasive bristles can leave micro-scratches. Avoid aiming steam at vents, seams around buttons, or the gap between the metal and the glass door, where moisture can enter the electronics.
For ovens, wait until the appliance is completely cool before steaming. Steam works well on baked-on food particles in the corners of the oven cavity, and it is effective on the glass door, but you should never aim steam directly at the heating elements or into the vent openings. Direct steam at the side walls and bottom tray, let it soften the residue for a few seconds, then remove it with a sponge or a plastic scraper. Afterward, wipe the interior with a dry microfibre cloth so no moisture is left inside.
For stovetops, the technique depends on the surface. A sealed ceramic or induction cooktop can be steamed once it is cool, but avoid blasting one small spot for a long time because the temperature contrast between the steam and the cold glass can be unpleasant for the material. A better approach is to steam the entire surface quickly and then wipe it clean. For gas cooktops, steam the removable grates and burner caps in a sink, then dry them thoroughly before reassembling. The concentrated steam nozzle is ideal for the small recesses where food often falls down around the burners.
Microwave interiors can be refreshed with short steam bursts followed by a dry wipe. Steam softens dried splatter on the ceiling and walls, which otherwise tend to accumulate layer after layer. Keep the nozzle away from the vent grille on the right side of most microwaves, and do not target the magnetron area at any point.
Sinks collect soap residue, toothpaste, and hard water deposits, all of which respond well to steam. For a stainless steel sink, steam the basin and wipe it with a cloth; for a porcelain or enamel sink, steam in short passes to avoid heating the enamel unevenly. Faucets are usually the best demonstration of steam cleaning power: the small deposits around the base of the spout and where the handle meets the body soften quickly, and a cloth wipes them away without the need for descaling powder. To clean the aerator threads, use the detail nozzle around the opening but remove the aerator itself for thorough soaking in vinegar if it is badly blocked.
Steam is useful for refrigerator interiors, especially for cleaning the rubber door gaskets where mould and sticky fingerprints tend to collect. Empty the fridge, switch it off, and remove shelves and drawers before you start. Steam the walls and the gasket, wipe with a dry cloth, and leave the door open for a few minutes before you put the contents back. Do not steam the electrical control panel, interior light fittings, or the cooling plate at the back.
Dishwashers also benefit from steam cleaning along the door seal and around the filter area. Remove the bottom rack to reach the filter basket; wipe away solid food debris first, then steam the filter housing and the plastic spray arms. If the dishwasher already smells musty, steaming the interior after removing the debris will help eliminate the odour.
Metal grease filters are one of the underrated targets for a steam cleaner. These filters accumulate a coating of oil that resists rinsing under warm water alone. Place them in the sink, apply steam across the surface with the brush attachment, and the melted grease will run off. Wipe the filter with a paper towel, wash with hot soapy water, and let it dry before reinstalling. This method also reduces the amount of degreasing chemical that usually ends up in the drain.
Bathrooms are another area where steam earns its keep, because soap scum, dried water droplets, and calcium deposits are all softened by heat. The strategy is to start with the hardest surfaces, let the steam sit on stubborn deposits, and finish every surface with a dry wipe to stop hard water marks from reappearing.
Begin with the shower walls. Run the shower for a minute so the tiles are warm and the soap scum is slightly softened, then steam one small area at a time using the narrow brush nozzle. Move the brush up and down the grout lines and diagonally across the tile face to dislodge the film of soap residue. Keep a dry cloth over your free hand and wipe away the emulsified dirt as you go. For shower doors, the squeegee attachment is the most efficient tool: apply steam to the glass, then pull the squeegee from top to bottom. This leaves a clean, streak-free surface in one step.
If the grout has darkened with mildew, steam softens the surface enough that a stiff nylon brush can scrub the stained layer away. The steam will not necessarily kill every fungus spore, but it removes the surface layer where most of the discolouration sits.
For toilets, the safest use of steam is on the exterior: the ceramic body, the lid, the seat hinges, and the floor around the base. Steam cleans these areas without emitting the strong odour of bleach-based toilet cleaners, and it removes splashes that dried on the pedestal. For the upper interior rim, steam can be used to soften the residue before you finish with a toilet brush, but avoid directing a concentrated jet at the porcelain for a long time; the sudden temperature change can be stressful to the glaze of an older toilet. If you choose to steam the bowl, keep the nozzle moving and use the brush attachment so the heat is spread across a wider area.
Bathroom sinks respond to the same sequence as kitchen sinks: steam the basin and wipe it dry. Pay attention to the rim around the overflow opening and the crevice where the tap meets the countertop. These areas accumulate toothpaste, soap residue, and hard water scale that are difficult to scrub with a sponge alone.
Steaming a mirror is a quick way to remove a thin film of soap spray and cosmetic residue, but you need to avoid concentrating heat on one spot for too long because thick mirror glass can crack under uneven thermal stress. Pass the nozzle over the whole mirror surface quickly, then wipe with a dry microfiber cloth before the steam evaporates and leaves spots. A squeegee attachment also works well if your steam cleaner includes one.
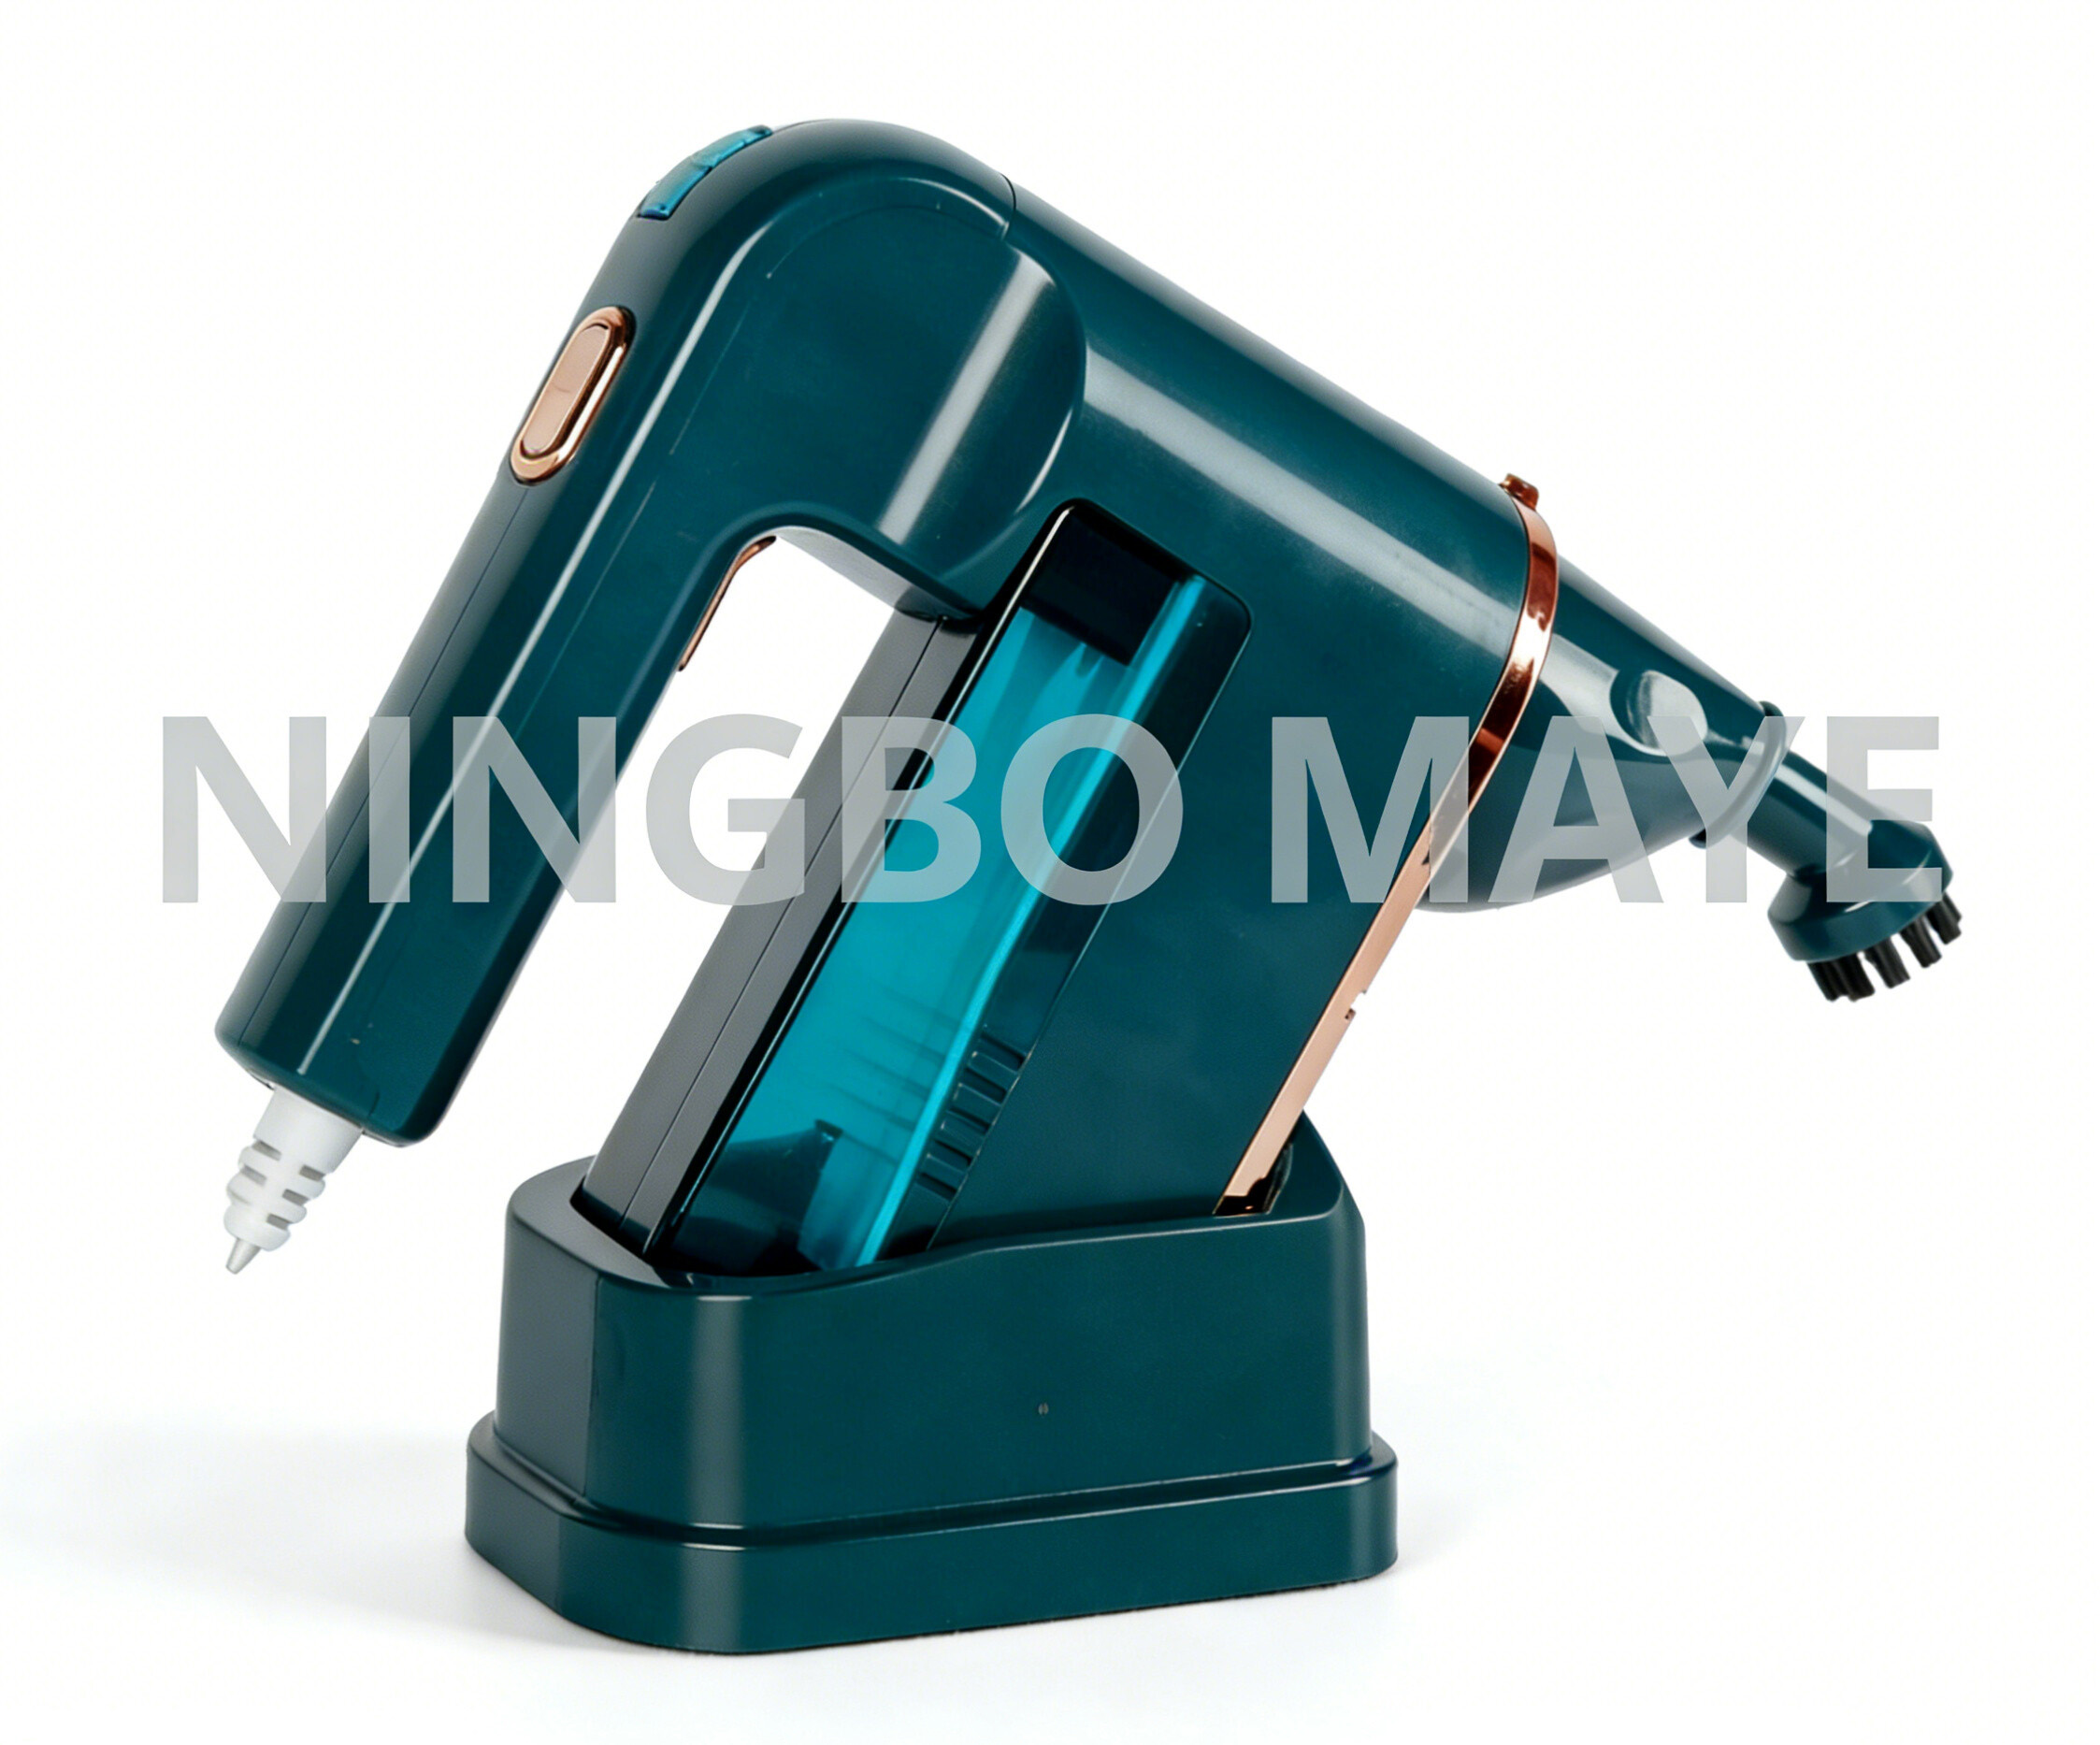
Chrome fixtures such as towel bars, shower heads, and tap handles are safely steamed. The steam softens the limescale and allows a cloth to wipe it off without a harsh abrasive. For a shower head that has heavily scaled nozzles, let steam play over the head for about ten seconds, then wipe the nozzles with a cloth or pin. In bathrooms where you need to move between multiple attachment types, a versatile steam cleaner such as the TMSC001 steam cleaner is convenient because it accepts standard accessory nozzles and can be stored in a small cabinet when you are done.
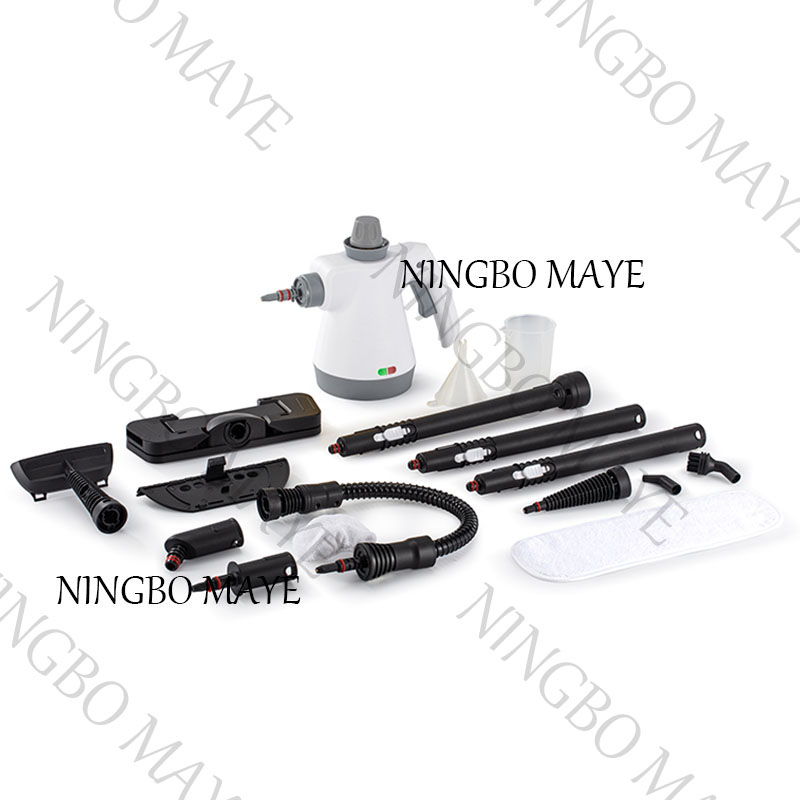 Custom TMSC-001 Multi-function Handheld Portable Electric Steam Cleaner SupplierNingbo Maye Electric Appliance Technology Co., Ltd. is China TMSC-001 Multi-function Handheld Portable Electric Steam Cleaner Suppliers a...View Product →
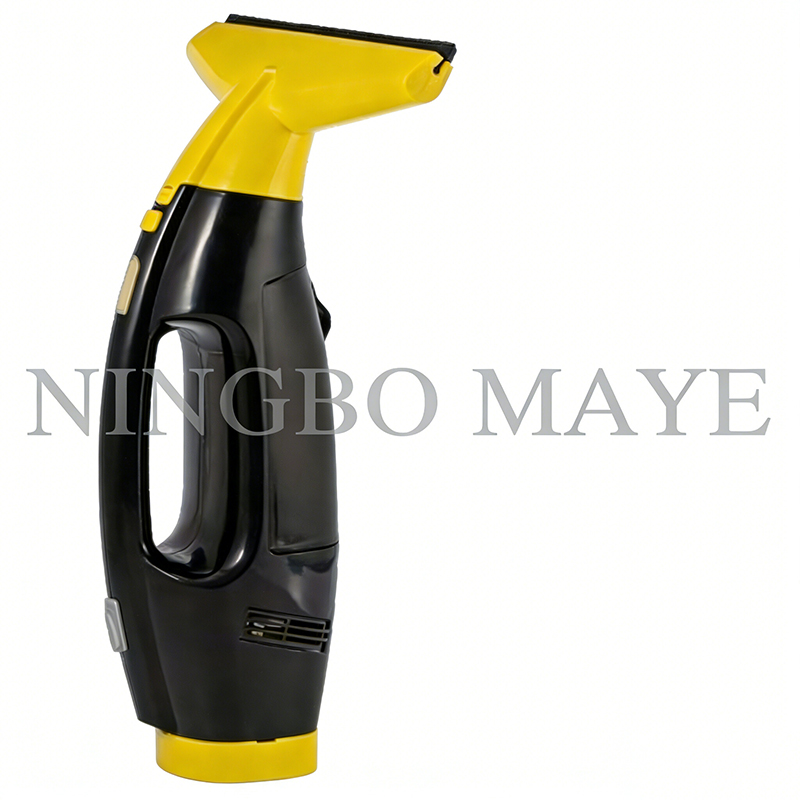
Window glass responds brilliantly to steam, but the technique is different from cleaning a solid worktop. The goal is to heat the glass, loosen the dirt, and remove the steam in a single continuous movement so no moisture is left to dry as a spot. The most effective method is to fill a small spray bottle with clean water, apply the steam to the glass in vertical bands, and immediately follow with a squeegee. Start at the top edge of the window and pull the squeegee down smoothly, wiping the blade with a cloth after each pass to remove the contaminated water. This gives a streak-free finish without leaving chemical residues around the frame.
Blinds and shutters are often neglected because they are tedious to wipe, but steam makes the job easier. For aluminium or plastic mini-blinds, use a narrow nozzle and hold it at a slight angle so the steam travels down the slat. Then wipe each slat with a dry cloth if necessary. Alternatively, place the steam nozzle behind a folded cloth and slide the cloth along the slat from the centre to the end, combining the steam and the wiping in one motion.
Window screens collect dust, pollen, and spider webs. You can steam them while they are still fitted to the frame, using a soft brush attachment and working from top to bottom so the water drips outward. Do not apply heavy steam to fabric or fibreglass screens for long periods, as they can stretch; instead, move the nozzle constantly and wipe with a dry cloth afterward.
Steam is useful for refreshing textiles at home, but it demands a slower, more cautious process than on hard surfaces. Always combine heat with a dry cloth to absorb the moisture, and never allow a fabric to become saturated, because mould and mildew can develop in thick layers such as mattress foam or sofa cushion cores.
A mattress develops sweat marks, dust mite debris, and hair oils around the edges and the areas where your body lies. Steam penetrates the fabric layers and softens these residues without drenching the mattress. Start by vacuuming the surface to remove dust and loose fibres. Then fit the fabric nozzle and pass the steam steadily over the top surface of the mattress, keeping the nozzle in motion. Follow immediately with a dry towel or cloth, pressing it on the warm fabric to soak up the condensed moisture. Turn the mattress and repeat on the other side, and leave the mattress standing on edge for half an hour to dry completely before putting the sheets back on.
If the mattress has a specific stain, treat it before steaming. Urine or blood stains should first be blotted with cold water, because heat from the steam can set the protein in the stain permanently. Once the stain has been lifted by cold water, a short burst of steam can help remove the last residue, but it is safer to use steam primarily for routine refreshing and let proper stain removal happen first.
Before steaming any sofa, check the upholstery care label and perform a colourfastness test on the back cushion. Dab a white cloth with warm water, press it on the fabric, and check that no dye transfers. If the label says W or SW, steam is generally acceptable. For S or X labels, avoid steam entirely and call a professional fabric cleaner.
Use the fabric nozzle or a clean dry cloth wrapped around a normal nozzle so the steam passes through the cloth before reaching the sofa fabric. This distributes the steam more gently. Work in small sections, particularly on the top of the arms, the front of the cushions, and the seams, which attract the most skin oils and dust. Do not soak the stuffing. After each section, blot with a towel and let the fabric dry before you use the sofa.
Curtains are an excellent candidate for steam because hanging them and treating them with steam removes wrinkles, static, and dust in one process. Many synthetic curtains tolerate steam, but you need to keep the nozzle at least ten centimetres from the fabric to avoid scorching. Test the hem inside the curtain first. Work through the curtain in vertical sections, pulling gently on the fabric with one hand and moving the steam nozzle along the back of the fabric so the face is not directly heated. If the curtain has a blackout lining or foam backing, avoid steaming the lining side, as the heat can melt the coating.
Leather is the one common material where steam cleaning should be largely avoided. Direct steam can strip the finish, raise the grain, and leave dry spots on leather items. If you want to refresh a leather sofa or car seat, use a dry microfibre cloth and a dedicated leather cleaner instead. Some sources suggest holding the steam nozzle far away and passing the steam quickly above a leather surface to remove odour, but this practice carries real risk of roping and cracking if you get too close. Until you are confident about the exact finish of your leather, skip steam there entirely.
Once you are comfortable with the basic technique, you will start to notice steam useful in places well beyond the obvious rooms. These smaller applications require a few seconds of effort each, yet they make a noticeable difference to the level of cleanliness in your home.
Plastic, aluminium, and teak furniture all respond well to steam. Mould spores and pollen tend to settle on outdoor table tops and chair arms, and a steam cleaner lifts these off without a bucket of soapy water. On textured plastic surfaces, press the brush attachment directly into the grain. On folding chairs, pay extra attention to the crevices around the hinges where dust and spider webs collect. After steaming, wipe the furniture with a dry cloth and let the sun finish the drying.
The main advantage of steam for pet areas is that it cleans them without leaving chemical traces that a cat or dog might later lick. Steam a plastic pet crate, the metal door, and the tray after removing solid debris. If the fabric bedding is machine washable, wash it first and then use steam to refresh the handles and seams of the crate. Do not steam directly on a pet, and avoid aiming steam at an animal's eyes, nose, or paw pads. The heat will be far above what a pet can tolerate comfortably.
Ceiling fan blades collect a thin layer of dust that becomes greasy in the kitchen. Set the blade so the top surface is accessible, pass the steam nozzle along the top edge, and wipe with a dry cloth. The same method works on window air conditioner louvers and bathroom extractor fan grilles. For air conditioner filters that are actually washable, steam is not necessary; a vacuum or gentle rinse is better because the filter material is delicate. But the plastic housing and the surrounding vents can be steamed safely after the unit is switched off and unplugged.
Steam is an effective way to remove stickers and labels from glass jars, plastic containers, and new appliances. Hold the nozzle close enough for the steam to reach the sticker edge, wait about five seconds for the adhesive to soften, then peel the sticker off and wipe away the remaining gum with a cloth. Heat makes the adhesive flow, which is exactly what you need for a clean removal. On painted walls or sensitive plastic, be careful, because the heat can damage the underlying finish.
If you do not own a garment steamer, a steam cleaner with a fabric attachment works in a similar way. Hang the clothing item on a sturdy hanger, pull the fabric taut with one hand, and glide the steam nozzle down the fabric at a safe distance. The steam releases wrinkles and neutralises odours in outerwear, work shirts, and winter coats. Keep the nozzle at least ten centimetres away from delicate synthetics, and never place the hot head directly against silk, satin, or rayon. Use this method for clothing that would otherwise be expensive to dry-clean, but still check the label for S or X restrictions.
Most of the damage that occurs with steam cleaning is caused by the same handful of errors. Understanding them before you start will protect both your surfaces and your machine.
After each use, empty the water tank if it is removable, rinse the nozzle and any brushes under clear water, and wipe the body of the machine with a dry cloth. Leaving water in the tank or the boiler invites mineral scale and, in rare cases, bacterial growth. A few minutes of care after each session prevents most performance problems.
Descaling is the single most important maintenance task. The frequency depends on the hardness of your water supply and how often you use the machine. If you use only distilled water, descaling every three months may be sufficient. If you use tap water, descale every one to two months. Most manufacturers recommend a descaling solution based on citric acid, but you can also follow the exact dilution ratio given in your manual. Do not pour concentrated vinegar directly into the boiler and leave it overnight without checking the manual, because acid can damage rubber seals if left for too long.
The table below outlines a simple maintenance schedule that keeps a steam cleaner functioning reliably.
| Maintenance Task | Frequency | Why It Matters |
|---|---|---|
| Empty and dry the water tank | After every use | Prevents scale formation and bacterial odours. |
| Rinse the nozzle and attachments | After every use | Keeps steam ports clear and removes dirt from bristles. |
| Descale the internal boiler | Every 1 to 3 months | Maintains full steam pressure and short heating time. |
| Inspect the power cord and plug | Monthly | Catches damage before it becomes an electrical hazard. |
| Store in a dry, ventilated location | Always | Prevents moisture damage and accidental scale buildup. |
When you store the machine, disconnect the hose and any extension tubes, wrap the power cord loosely, and place the unit upright in a dry cabinet. Do not store it with the steam trigger locked in the open position, because the pressure relief mechanism may be stressed for days. If the manufacturer includes a storage cap for the nozzle, use it to keep dust and insects out of the steam outlet.
Steam cleaning is not a substitute for vacuuming, dusting, or the occasional deep extraction of carpets, but it is one of the most practical ways to remove grease, soap scum, and sticky residues without purchasing a cabinet full of disposable cleaning products. The technique comes down to three things: check the surface, choose the right attachment, and always wipe while the steam is still warm. Once you have that routine, you can adapt it to almost any hard surface in your home, from ceramic tile and glass to stainless steel and sealed wood.
Take a few minutes to test your machine on an inconspicuous area, use distilled water to reduce scale, and clean in small sections so the steam does not cool before you wipe it away. When you follow those steps, a steam cleaner turns ordinary tap water into a powerful cleaning tool that leaves almost no chemical residue and very little physical effort. If you are still deciding which type of machine fits your home, explore our household steam cleaner range and compare the compact handheld models against larger options with more attachments. Whichever model you choose, the user is always the determining factor: the person who knows which surfaces to steam, which attachment to fit, and when to wipe. With the guidance above, you are already well prepared for that role.
Related Products

Address
East Zone Development Zone Lingshan Town Yuyao City Zhejiang P.R.C.
Tel
+86-18905840666 / +86-574-62067822
+86-15905848828
QR CODE
 Wholesale Multifunctional Steam Cleaner Manufacturers

 English
 Español