2026-09-10
If the tiles in your bathroom have lost their shine, the grout lines are no longer white, and a ring of limescale has formed around your tap base, you have probably tried several chemical cleaners already. Bleach, lime removal gels, and abrasive pads all promise a quick fix, but they often leave an unpleasant smell, require long exposure times, and can damage the finish of your fixtures. A handheld steam cleaner attacks the same problem from a different angle. Instead of dissolving dirt with a chemical, it uses heat, pressure, and a controlled amount of moisture to loosen the soil so that a simple wipe can remove it.
The short answer to the question “how do I clean my bathroom with a steamer?” is this: you direct dry steam at the surface, let it soften the grime, and then immediately wipe away the condensing moisture. The heat is what breaks down soap scum, limescale, and bodily residues. The moisture carries the loosened particles away. This process is more efficient than scrubbing in almost every part of the bathroom, but it needs the right technique, the right attachments, and a reasonable understanding of which surfaces can tolerate steam and which ones cannot.
In this article, we will walk through the full bathroom cleaning process with a steam cleaner, from preparation to the final wipe. We will also explain why some shoppers buy a steamer and then become frustrated with it, what causes those limitations, and how to avoid them. The goal is to give you a repeatable workflow that works for a typical family bathroom, with practical thresholds, step-by-step intervals, and specific warnings where a steam cleaner can do more harm than good.
Bathroom soil is composed of several different materials. Soap scum is a greasy, waxy residue formed from soap combined with minerals in tap water. Grout is a porous cement material that absorbs the scum and becomes permanently darker. Limescale is a calcium carbonate deposit that hardens over time, often around water outlets. Steam cleaning deals with these materials in three distinct physical ways: heat softens the organic components, pressure pushes moisture into tiny gaps, and the condensed liquid helps transport the removed soil away from the surface.
A well-designed handheld steam cleaner for bathroom use reaches a nozzle temperature of roughly 110–150 °C. At those temperatures, soap scum changes from a stiff film to a soft, paste-like substance. That change takes place within seconds of the steam contacting the surface. The steam cloud itself is a mixture of gas and visible water droplets. When it hits a cool, tiled wall or a chrome surface, it condenses into a very thin film of water. This film is enough to dissolve water-soluble salts and to suspend the softened dirt without generating enough water to flood the floor.
The real difference between steam cleaning and a wet sponge is not the amount of water, but the timing. A wet sponge has a temperature near room temperature. Steam has far more thermal energy. That energy is what breaks the wax-like bond between the soap scum and the tile. Once that bond is broken, the resistant film no longer has any reason to stick, and a dry microfiber cloth lifts it off effortlessly.
There is also a hygienic side to this. Steam at these temperatures kills most common bathroom bacteria and fungi on contact. If your family deals with repeated mould spots around the shower tray, a steam cleaner can be used to remove surface growth without relying on a chlorine-based spray that might irritate your eyes or lungs. The steam does not penetrate into the wall, but it does clean the visible surface more effectively than a simple wipe.
Steam pressure matters for one specific reason: it pushes the steam into places where a cloth cannot reach. Handheld steam cleaners designed for household jobs usually generate a working pressure between 2 and 3 bar. That pressure is enough to reach the inner edge of a drain cover, the underside of a shower screen rail, or the narrow gap between a sink mixer and the ceramic basin. When the steam arrives in a narrow channel, it expands and condenses, delivering its heat exactly where the grime has hidden.
Steam volume, measured in grams per minute, determines how long you can work before the boiler needs to reheat. In a small bathroom, a steam output of around 25–30 g/min will clean a single section of tile comfortably. In a larger master bathroom, you may need a unit with a bigger tank or a longer continuous run time. The good news is that the newer handheld models from established manufacturers are small and light, yet they still produce enough steam for a normal bathroom session.
You can find more details about how steam is produced and what the internal components do in this complete guide to handheld steam cleaners.
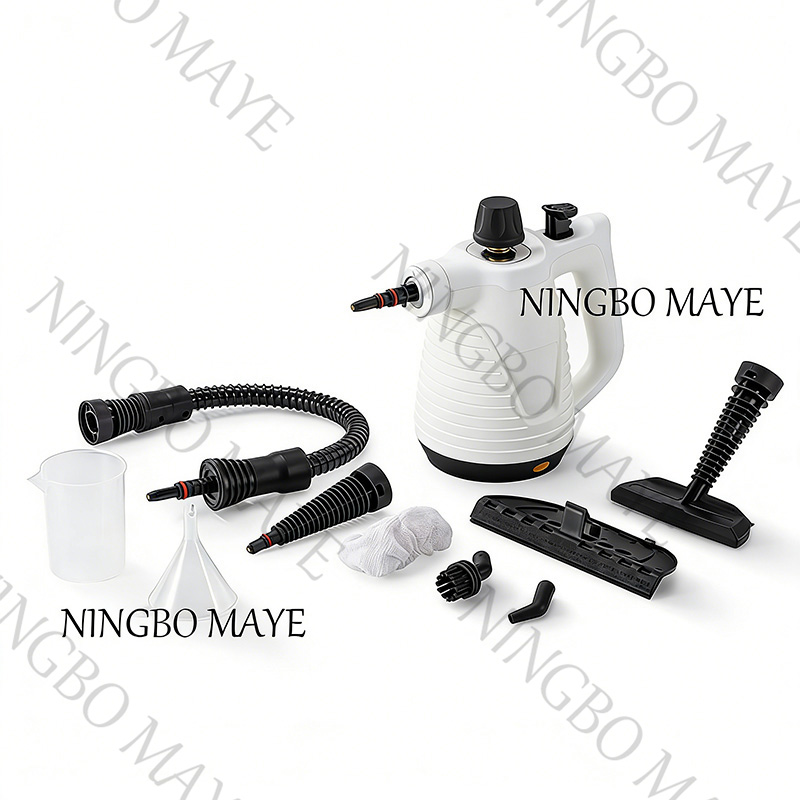
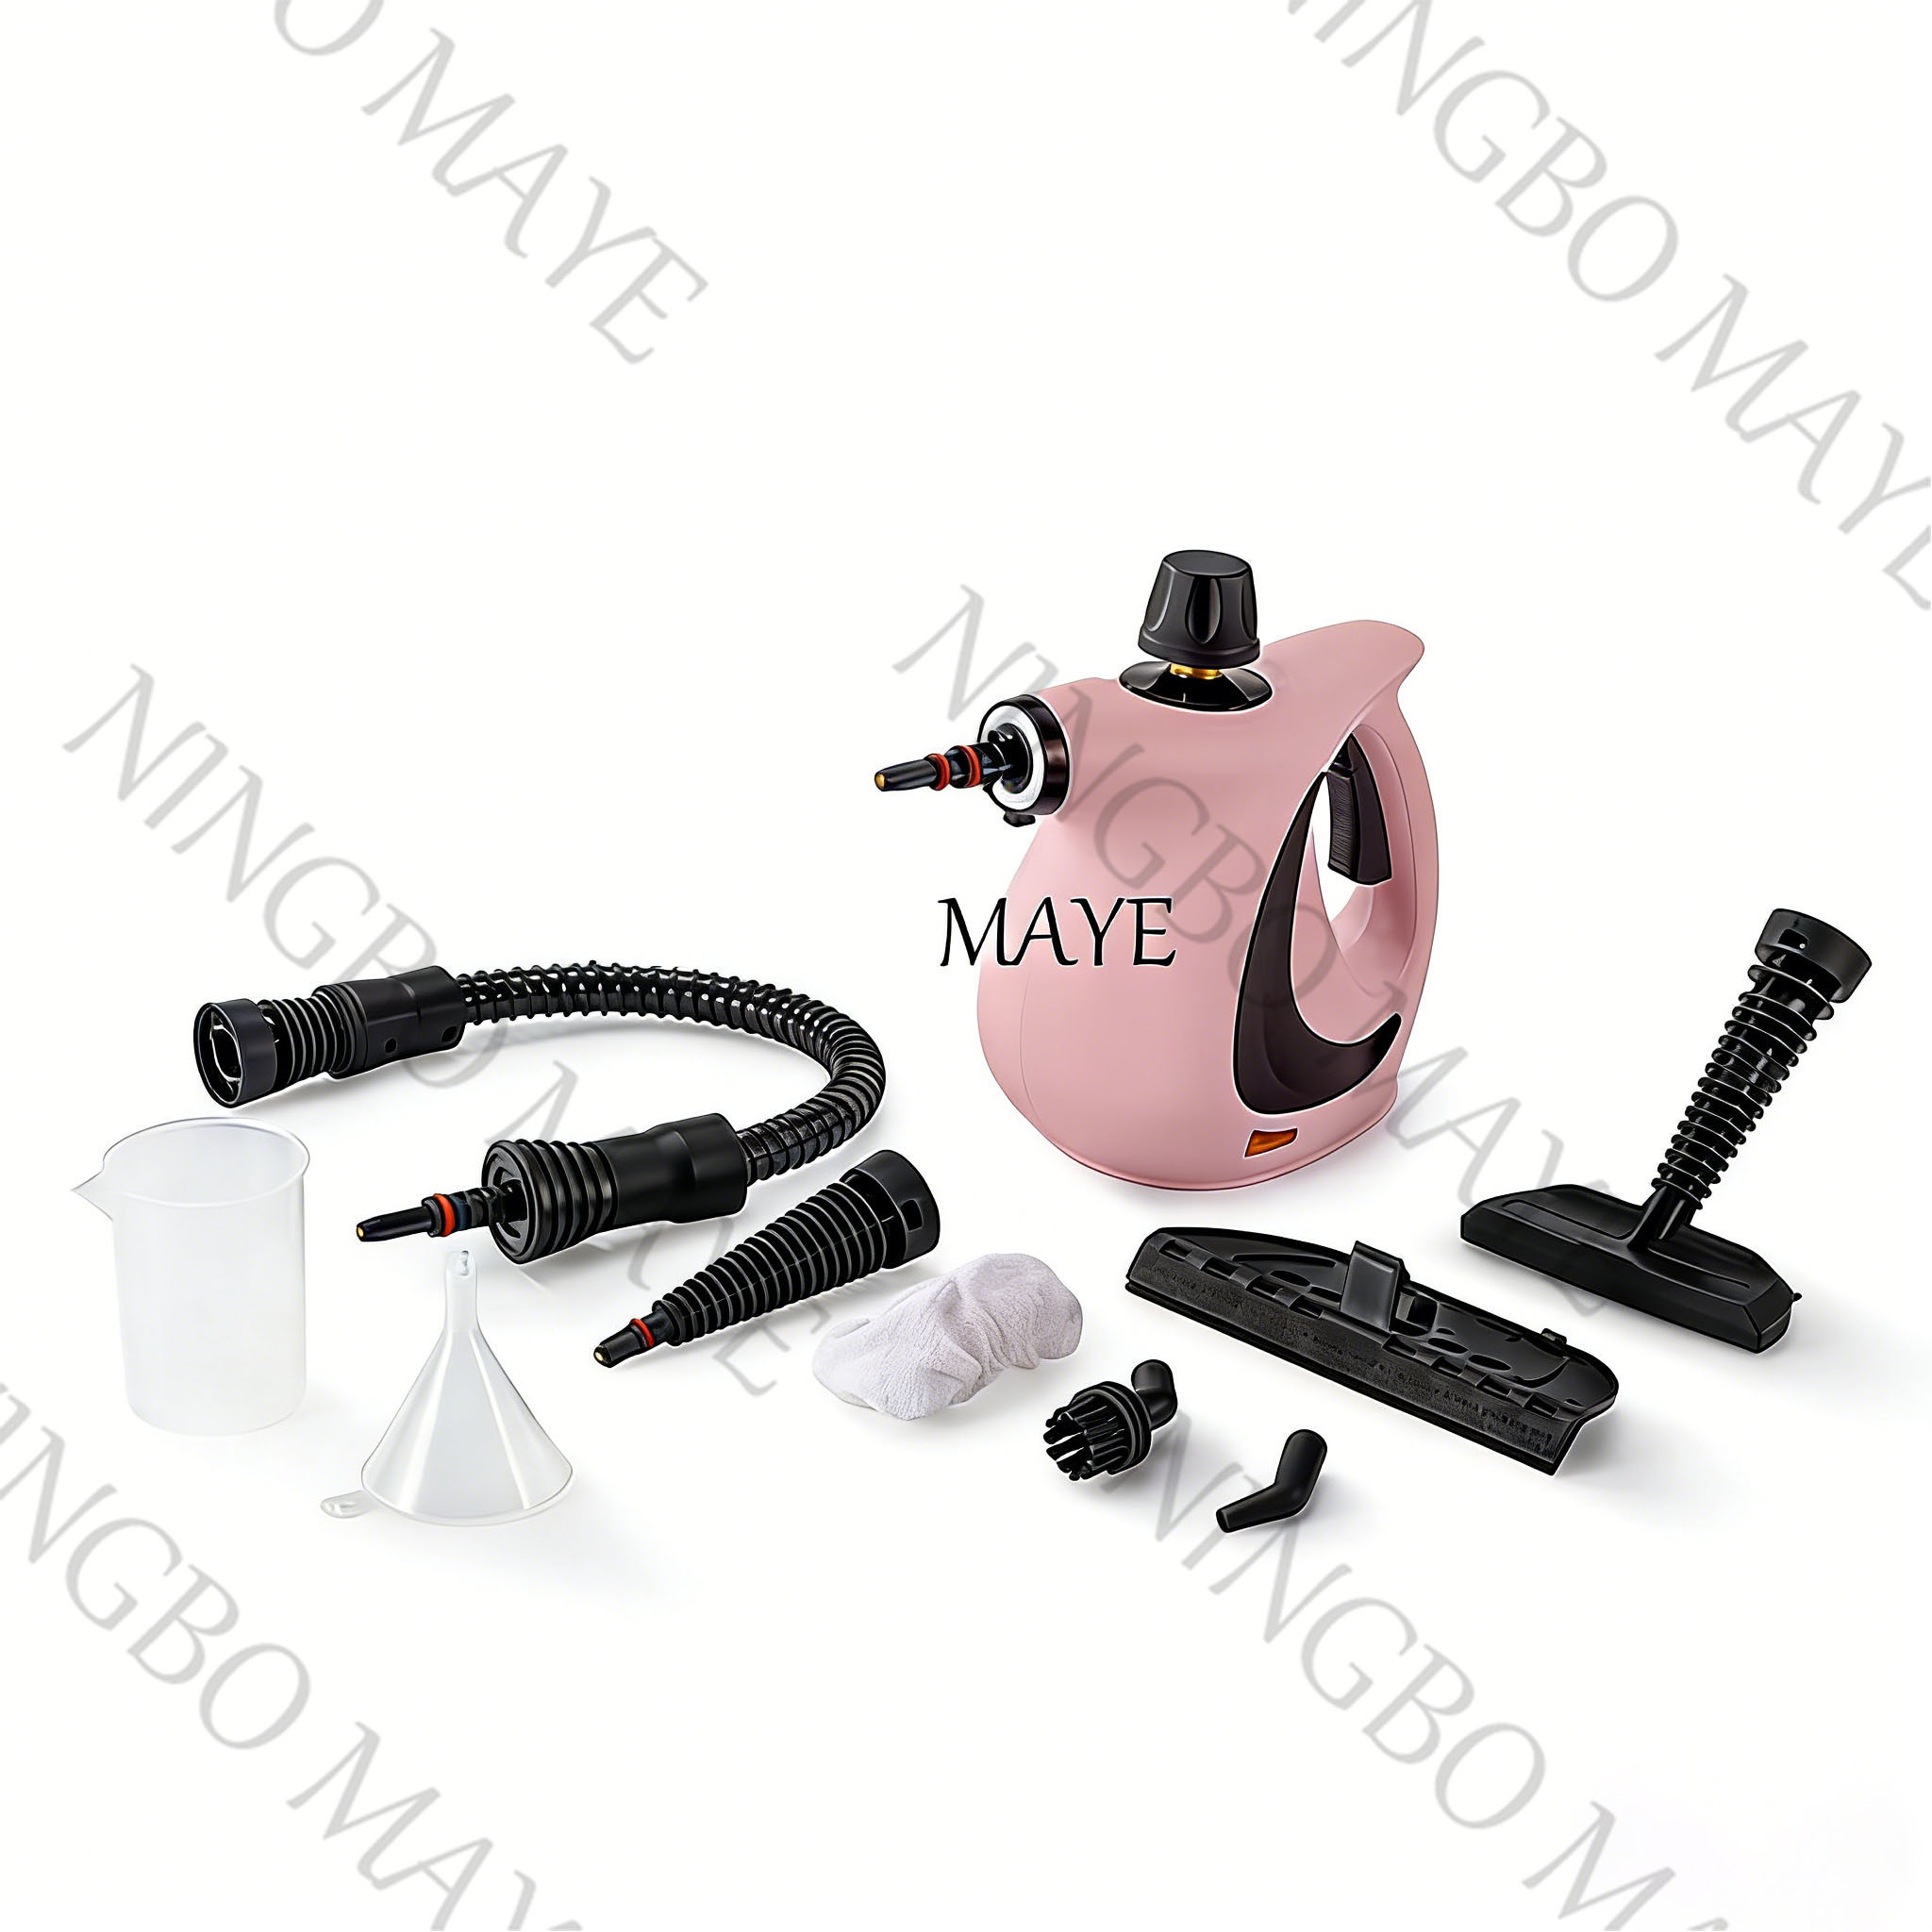
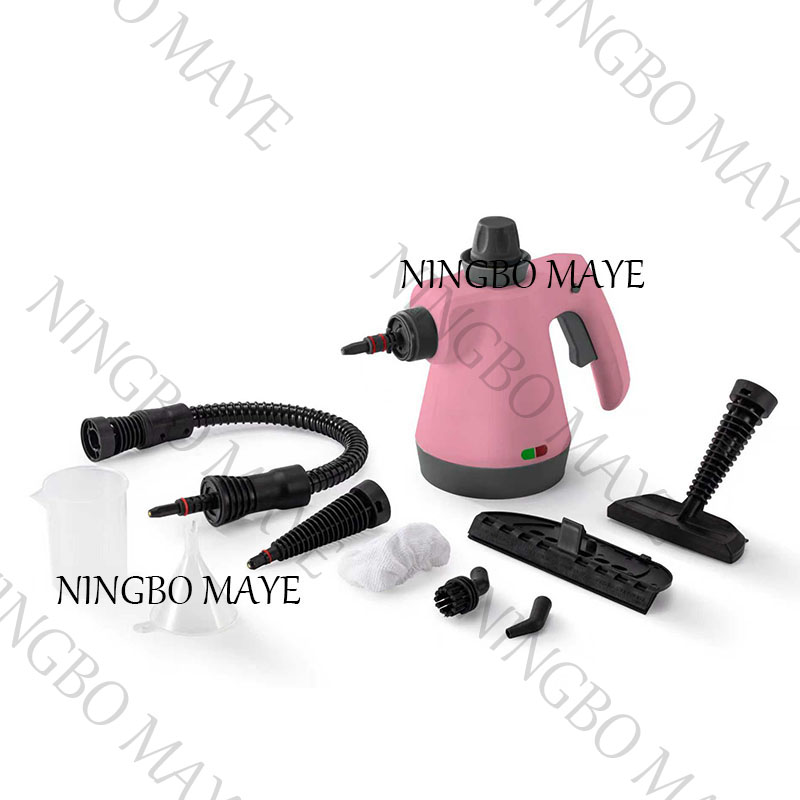
The decision to buy a steam cleaner for your bathroom should be based on how the machine behaves in the hand, not just on its colour or power rating. A typical bathroom has a mix of ceramic tile, grout, glass, chrome, and maybe a plastic shower tray. For every one of these materials, you need a different attachment. The three attachments that matter most are a stiff round nylon brush for grout, an angled jet nozzle for tight corners, and a squeegee for glass and mirrors. Without those, you will still be cleaning with a cloth, and the advantage of the steam will disappear.
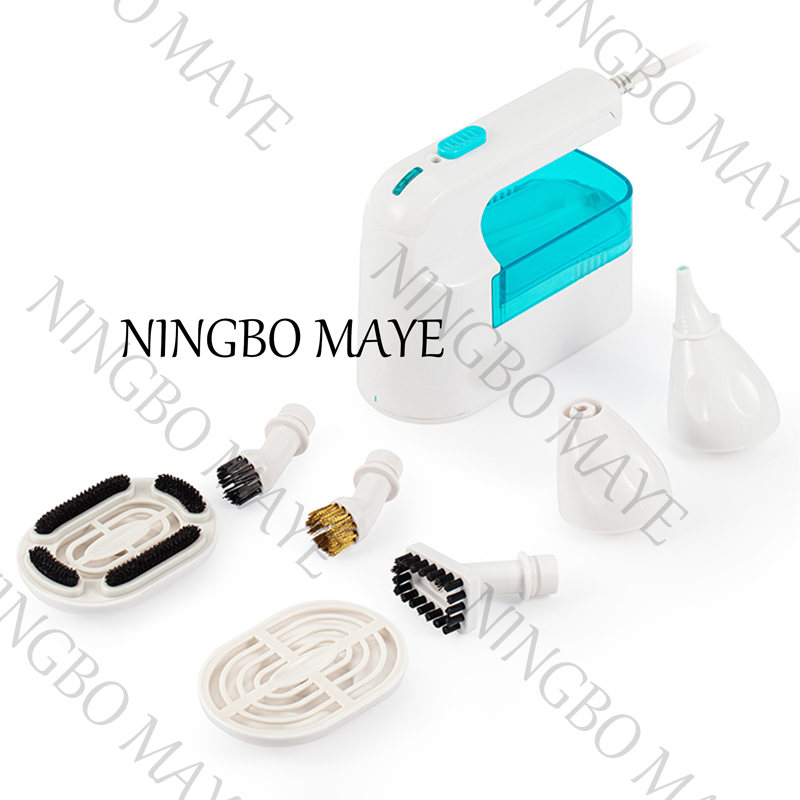
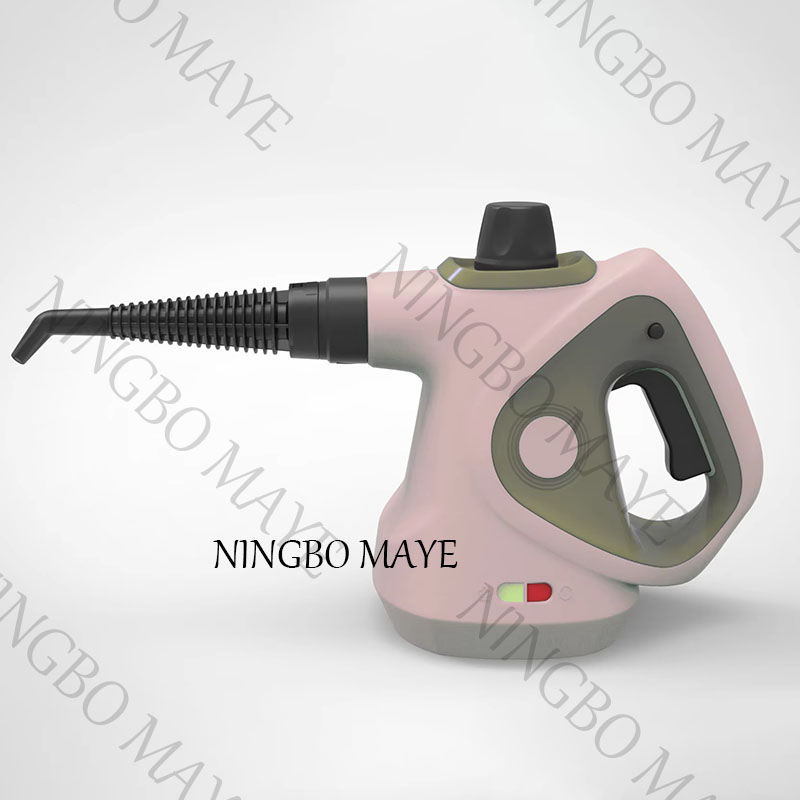
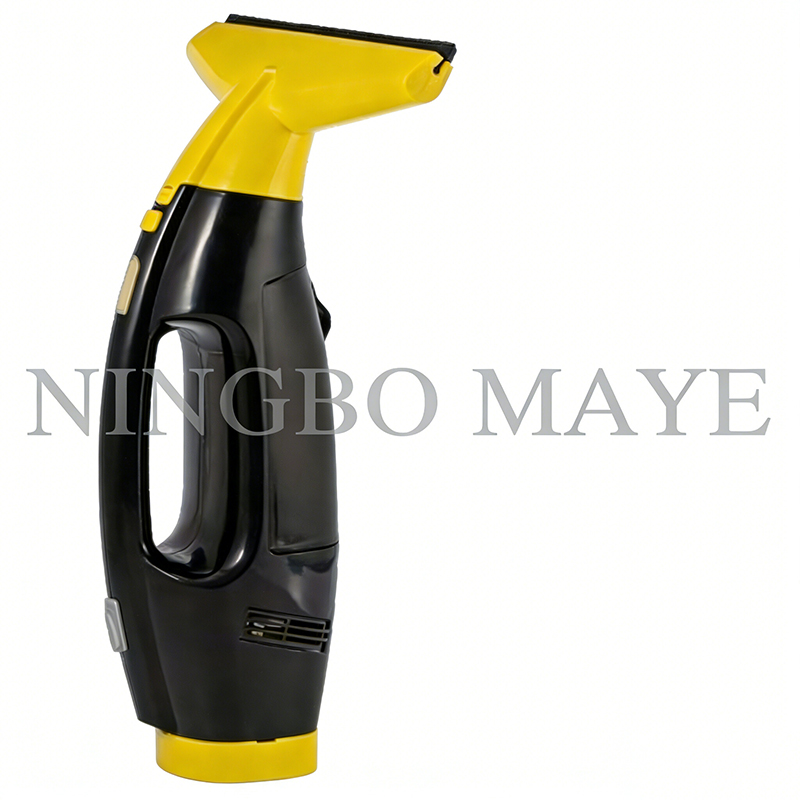
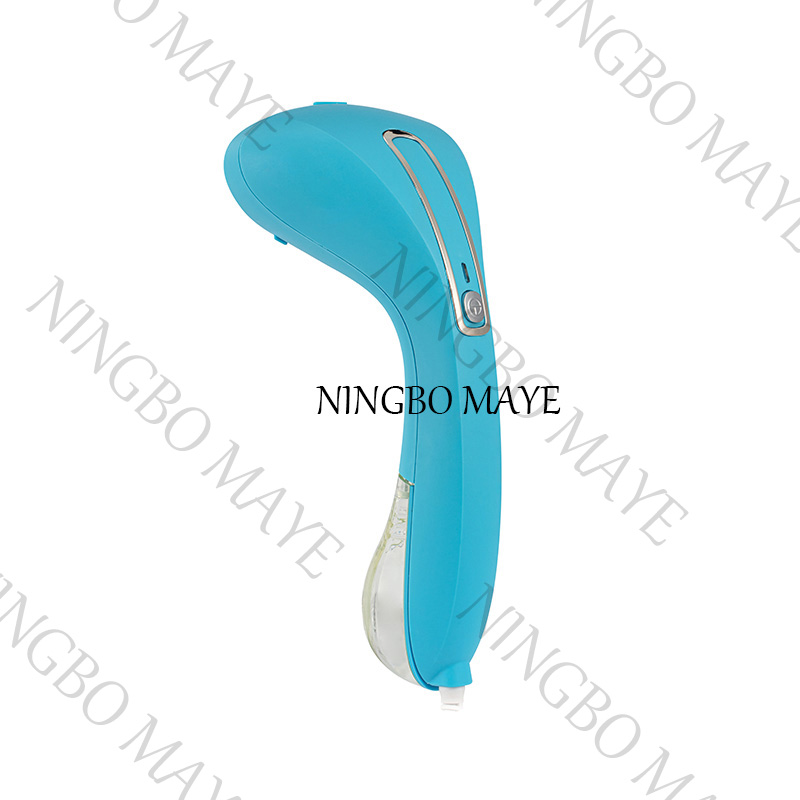 1100W 4-in-1 Handheld Steam Vacuum with 120°C High TemperatureThis handheld steam vacuum generates 120°C steam in seconds, ideal for tackling stubborn bathroom grime and kitchen grease. Its 4-in-1 design includes essential attachments for versatile cleaning.View Product →
No one wants to wait several minutes between steam passes. Look for a unit that reaches full steam in no more than 25 seconds. The temperature at the nozzle is what determines how quickly the grime softens. A temperature at or above 120°C is enough to make a practical difference. If you compare two machines that look similar, the one with the higher nozzle temperature usually cleans faster, but it may also require more careful handling when you are working on sensitive materials such as acrylic or polished stone.
Handheld steam cleaners work in cycles. The tank holds a set amount of water, then the heater turns that water into steam. A 250 ml tank produces roughly 8–10 minutes of continuous steam, depending on pressure and nozzle setting. A 350 ml tank can produce 12–15 minutes. That difference is meaningful when you are cleaning a large bathroom. If you run out of steam every three minutes, you will spend more time refilling and waiting than actually wiping.
The weight of the machine at full tank is also a consideration. A 350 ml tank on a long handheld unit becomes tiring for your wrist after about 15 minutes. A smaller tank is easier for reaching high places, but it needs more frequent refills. If your bathroom has high windows above a shower enclosure, the balance of the machine matters more than its capacity. A unit with a separate hose and a trigger on the handle is usually easier to use in difficult positions.
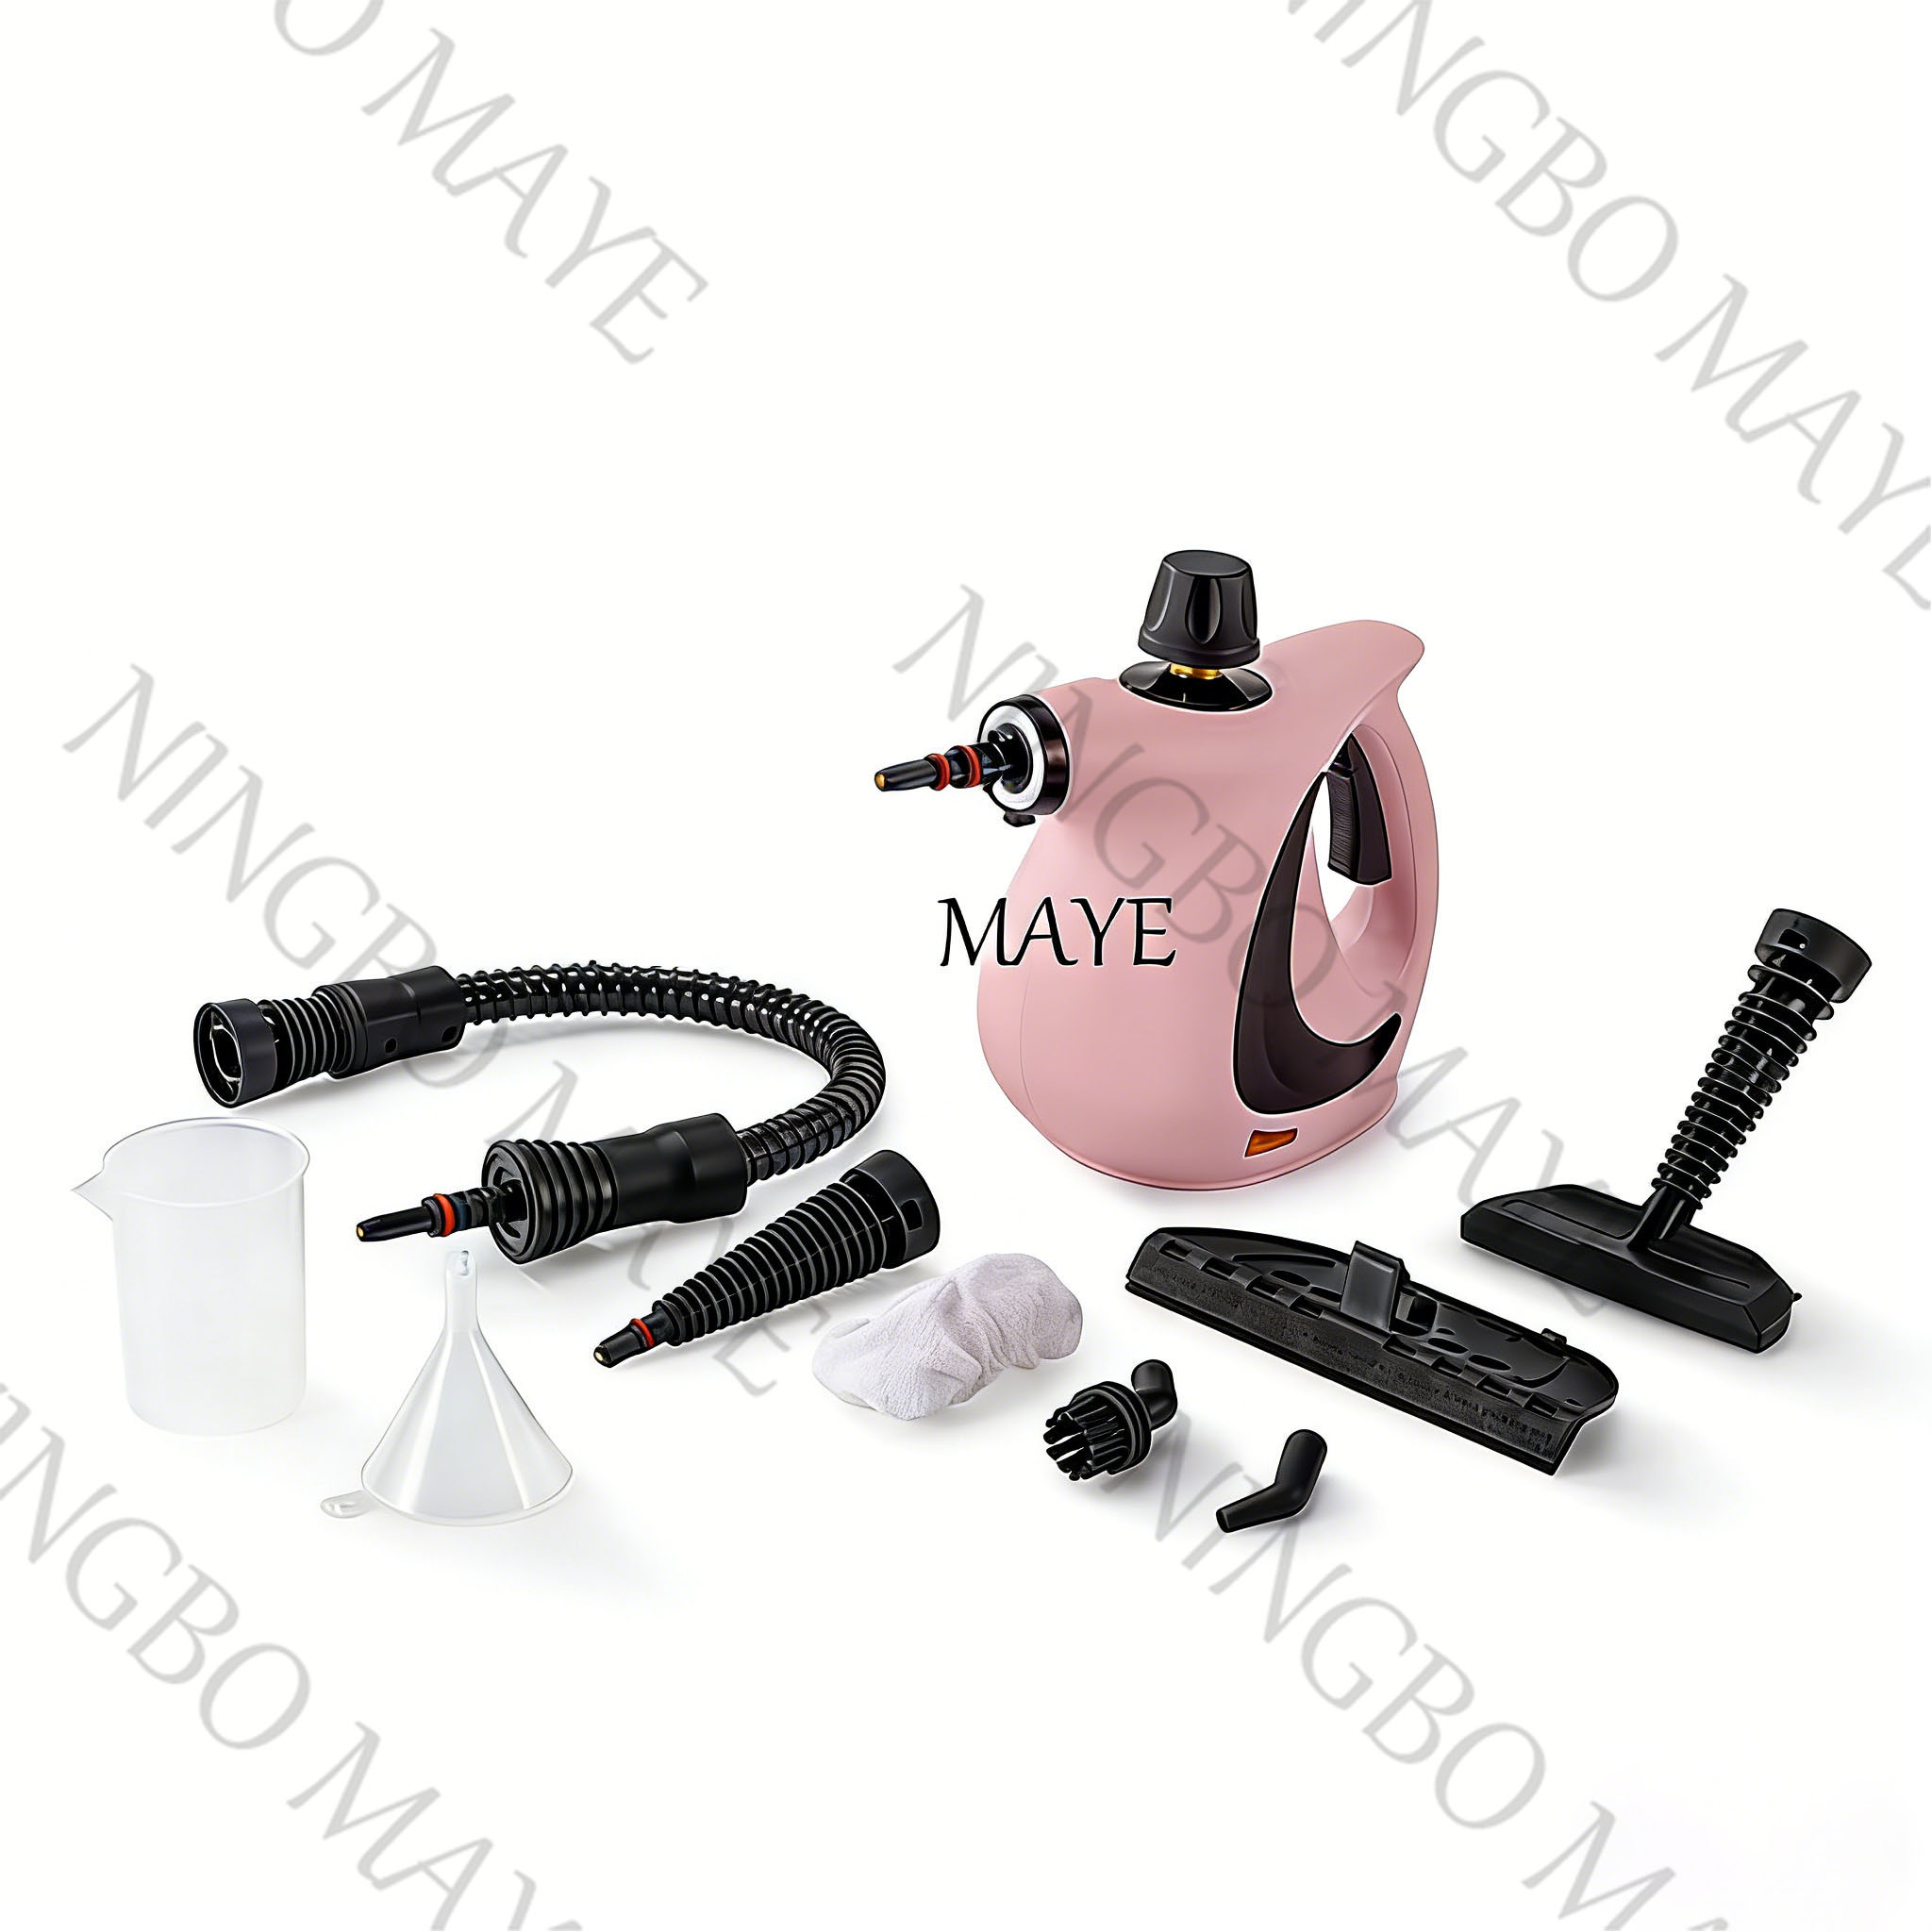
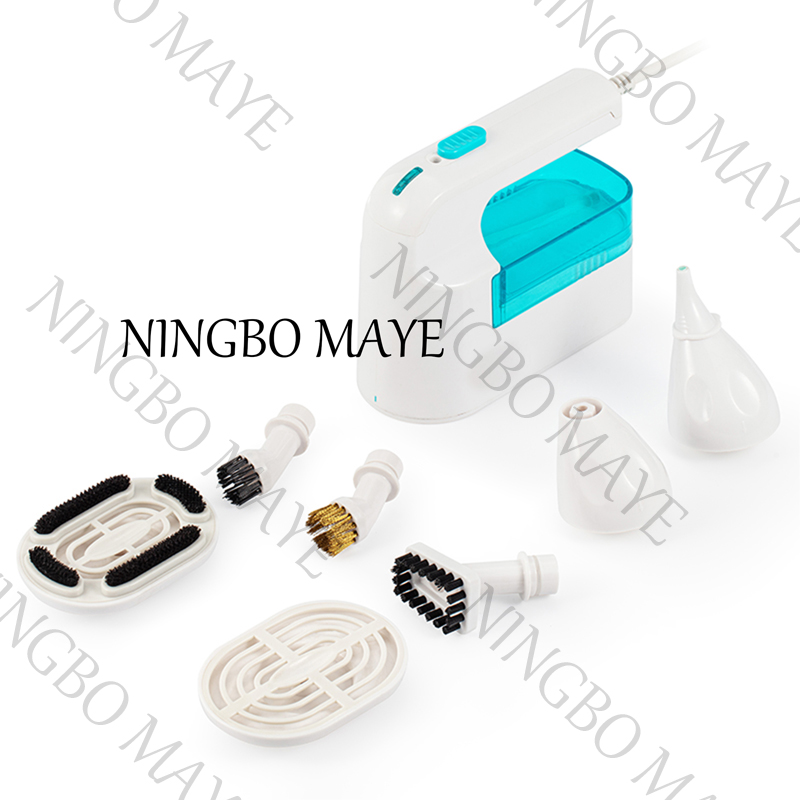 1200W High-Pressure Steam Cleaner with 145°C Steam and Compact DesignThis compact steam cleaner heats up quickly and delivers continuous 145°C high-pressure steam, making it suitable for bathrooms and kitchens. Its portable design helps reduce wrist strain during extended cleaning.View Product →
Every part of a bathroom presents a different challenge. The grout lines between wall tiles are narrow and rough, so a stiff brush with nylon bristles is the right tool. The base of a tap is sometimes surrounded by a small metal collar, which demands a narrow angled nozzle. A mirror has a smooth surface that needs a squeegee to prevent streaks. A chrome tap is so reflective that you cannot lift the dried water spots afterwards; you need to wipe immediately while the surface is still warm.
If the machine comes with a plastic scraper, keep it for the silicone where the shower screen meets the tray. Never use the scraper on a glossy tile. The edge of the scraper may scratch the glaze. The dealer should list the exact accessories included with the base unit. If the brush is too stiff or too soft for your preferred use, you can often find separate brushes made for the same machine.
When you hold a steam cleaner in your hand, listen to the sound of the boiler. A steady, even hiss is normal. If the unit makes a sputtering noise, the water flow may be irregular, or the heating element may need descaling. This is not a product flaw; it is a sign that the machine needs a routine maintenance step. You will find more about that at the end of this article.
Preparation is not optional when steam cleaning. The moment you switch on the steamer, the air fills with fine water droplets. Any object that cannot get wet becomes a liability. At the same time, the heat can damage certain surfaces if you hold the nozzle in one spot too long. So, before you turn the unit on, take five minutes to make your bathroom safe for steam.
Remove every bottle, pump dispenser, toothbrush cup, soap dish, and bath toy from the shower and the vanity. If you leave items out, you will have to move them out of the way while holding a hot steam nozzle, which is awkward and increases the risk of touching the nozzle. Gather them in a single crate and set it outside the bathroom. If you have a towel hanging near the shower, remove it too, or you will end up with a damp towel covered in loosened grime.
Steam is hot, electrified water in its most basic form. Do not direct steam at sockets, light switches, LED mirrors, or any appliance that is plugged in. The steam can get into the housing and cause a short circuit. You can clean the glass of a wall lamp only when the lamp is switched off and the bulb has cooled down. The steam should never touch the bulb or the electrical components.
Porous objects such as natural stone, unsealed wood, or a cork noticeboard do not react well to steam. The heat can pull moisture into the pores and leave a dark mark. A bathroom cabinet with a melamine surface is usually safe if you wipe it off quickly, but a real wood veneer cabinet is a different story. Test the steam on the underside of a shelf before using it anywhere else.
Open a window or turn on the exhaust fan before you start. Steam cleaning increases the humidity inside the room, and high humidity prevents the visible steam from condensing on the surfaces you want to clean. If the air is already full of moisture, the steam becomes a diffuse cloud, and you are simply warming the room instead of cleaning it. Ventilation keeps the air moving and allows the steam to condense against the cooler surfaces, which is exactly what you want.
Keep two microfiber cloths in your pocket or on the vanity. One is for wiping the dirt off the surface, and the other is for polishing and drying. Do not use the same cloth for both jobs, because the first cloth quickly becomes full of loose particles. If you carry it to the mirror area, it can leave streaks and scratches. Each cleaning section should end with a dry, clean cloth.
When people search for cleaning bathroom with steamer, they usually have a specific problem in mind. The most common is the grout line between the tiles. You can scrub it with a nail brush and a bleach gel, but it never turns white again. That is because grout is porous and irregular. The dirt does not just sit on the surface; it penetrates into the microscopic pores. A cloth cannot clean there. Steam can.
Start at the least noticeable spot, such as the bottom row of tiles behind the toilet. Pull the trigger for a test burst. Let the steam hit the grout line for about five seconds. You will see the dirt turn darker as it absorbs the moisture, and a small amount of brown liquid will appear. Take a dry microfiber cloth and wipe the grout. If the brown layer comes off, you are ready to work on the rest of the wall.
Work in sections of about one metre wide. Move the steam nozzle along each grout line at a speed of about 5–10 cm per second. Keep the nozzle 3–5 cm away from the tile face. If you move too slowly, the grout becomes too hot, and the steam may work its way into the tile itself, causing a stain. If you move too fast, the heat does not have time to soften the grime, and you will only move the dirt around.
After the first steam pass, take the round brush attachment and go over the same grout line with a light scrubbing motion. Hold the brush at a slight angle to avoid catching the edge of the tile. The round brush loosens the particles that the steam softened. Then wipe the line with the cloth. In a typical bathroom with moderate grime, one steam pass and one brush pass should be enough. If the grout is heavily stained, repeat the two-pass process two or three times.
The flat tile surface itself accumulates a thin film of shampoo, conditioner, and body oils. Once the grout is clean, the tile surface will appear cloudy. You can remove this film with the same steam, but instead of a round brush, use the cloth attachment or a wide nozzle. Run the steam across the tile quickly, then wipe it dry. If you are cleaning a diagonal tiled wall, be mindful of the grout joints where the steam can run downward and drip onto the floor.
Natural stone tiles, marble, or unsealed slate do not tolerate steam well. The high heat can push moisture into their pores, leading to spots or, in the worst case, hairline cracks. If you have natural stone in the bathroom, use the steamer only on the grout, not on the stone itself, and use a low-pressure output if your unit provides one. Always test on a small hidden area and wait until the surface cools before you decide if it is safe. For sealed porcelain or ceramic, you have a wider margin. The glaze is resistant to heat and water, but you still need to avoid sudden temperature changes. Do not bring a red-hot nozzle straight from the steam tank onto a cold, glossy tile surface without letting a small amount of steam escape first.
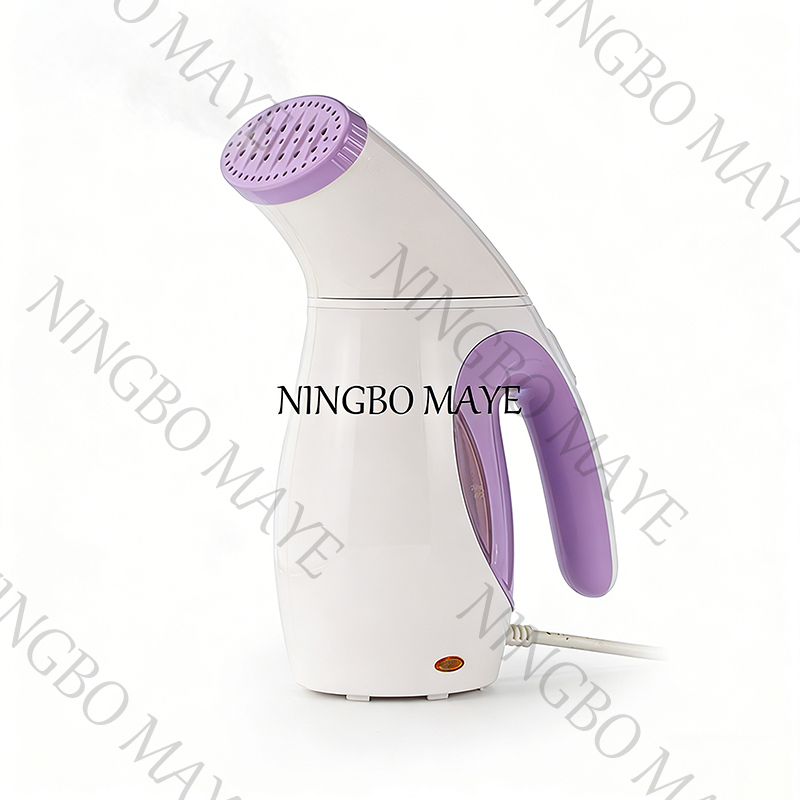
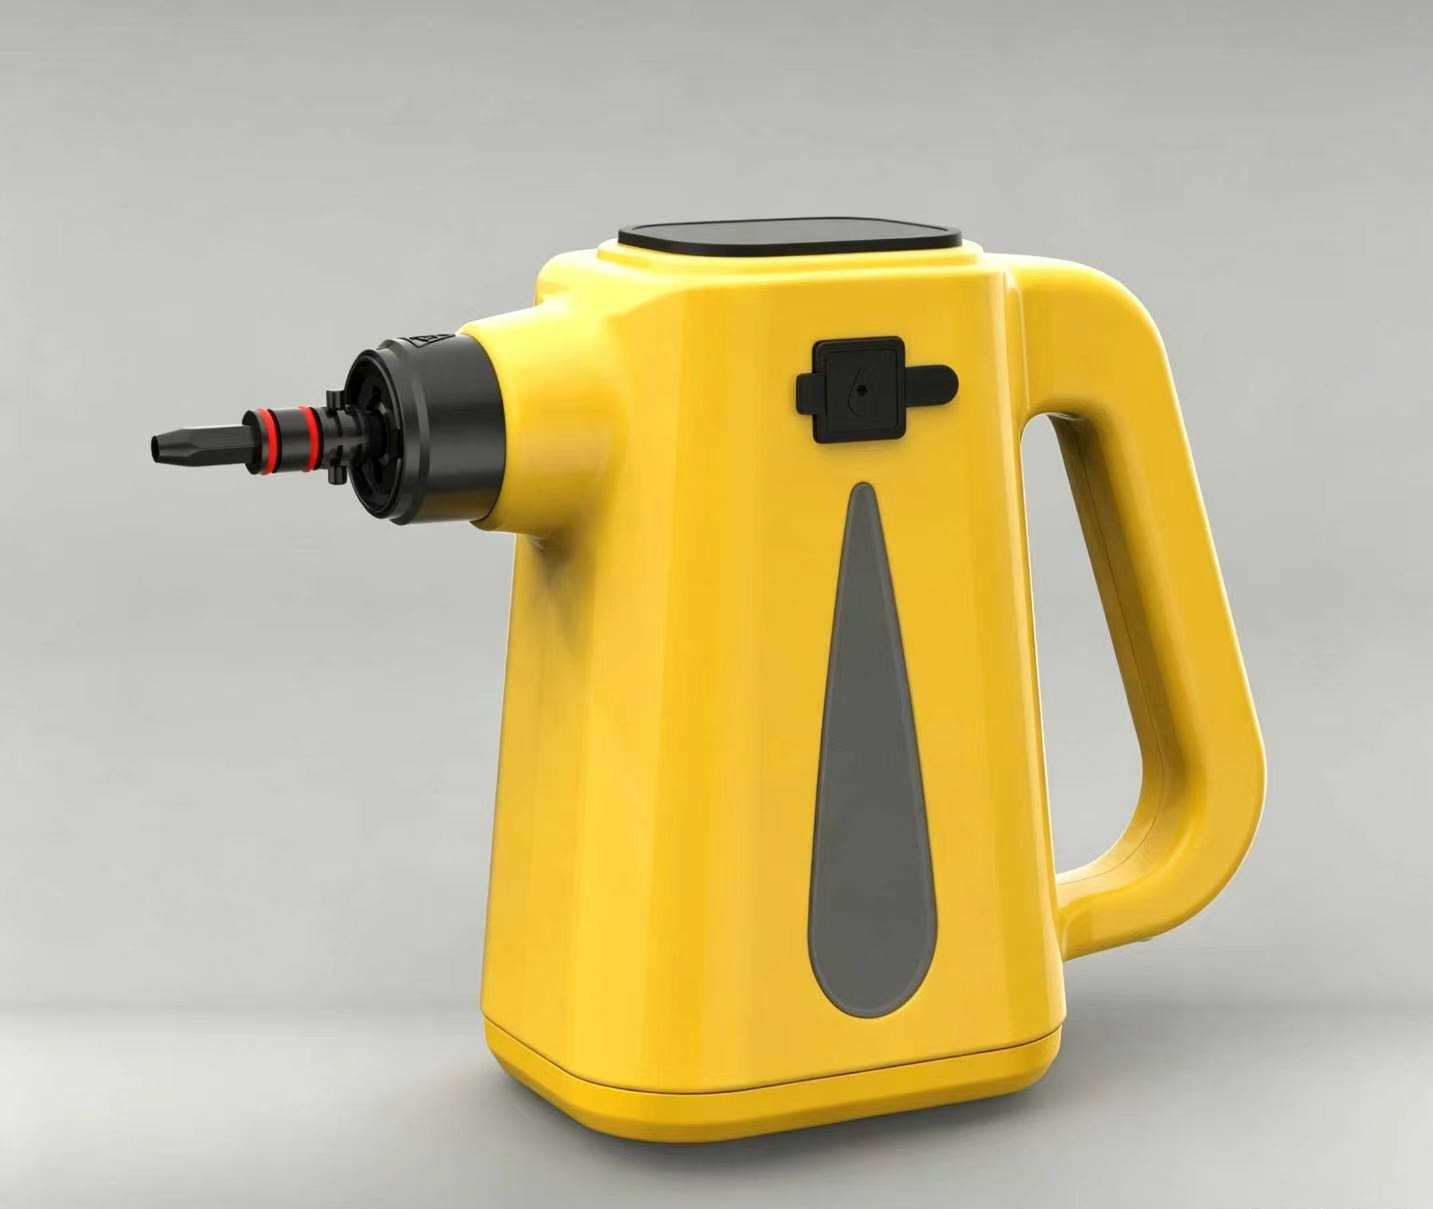
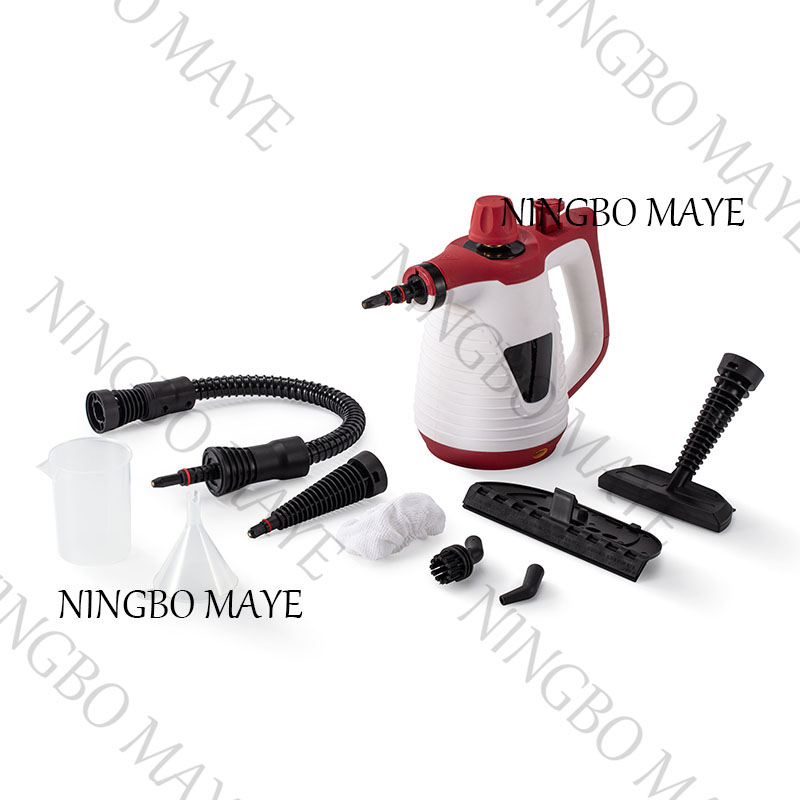 Handheld Multi-Surface Steam Cleaner with Adjustable Pressure for Home UseThis multi-surface steam cleaner operates at 2.8-3.2bar pressure, offering high-temperature steam for various materials. Use caution on natural stone and test on hidden areas first.View Product →
On average, you should hold the steam on a grout line for about 10–15 seconds per 20 cm segment. If you see the grout starting to lighten at that point, continue. If there is no change after 30 seconds, the staining may be permanent, especially if it has entered the grout from a colour dye or a strong chemical. Steam cannot remove a deep dye stain; it only cleans the material that sits on top of the grout.
Limescale is the white, chalky layer usually found on taps, showerheads, and the drain area of a basin. It is composed of calcium and magnesium carbonates that come from hard water. Chemical descalers work faster than steam, but they produce fumes and can etch chrome if left on too long. Steam is slower but safer. It works by expanding the mineral deposits. When the scale heats up, the microscopic water inside it evaporates, creating internal pressure that cracks the deposit. Once it is cracked, a soft brush can wipe it away.
For limescale around the base of a tap, choose the angled jet nozzle. The goal is to aim the steam sideways at the crust, not upward into the mechanism. Hold the nozzle 2–3 cm from the deposit and keep it there for 10–20 seconds. The scale will look wet and, after a moment, begin to crumble. Use a small plastic scraper or a soft brush to gently lift it. On a thick ring, you may need two or three treatments. Between treatments, let the surface cool for a minute so the heat does not build up too much.
If the limescale is behind a showerhead, unscrew the showerhead from the wall if possible. If the connection is accessible, steam the face of the head for 15 seconds, then use a stiff brush to open the nozzles. Steam also helps to loosen the scale that has formed inside holes. If you cannot remove the showerhead, angle the steam from below so the water runs out instead of into the pipe. Never point steam into a showerhead that is still connected to a hot-water pipe, because the extra heat could crack a plastic internal component.
The narrow gap around the base of a single-lever mixer is where limescale often accumulates. The steam should be applied with the nozzle angled downwards, while you use a small brush to scrape along the curve. The curved, flexible nylon brush is ideal for this because it conforms to the shape without scratching. A metal brush will damage the chrome and expose the underlying alloy. After cleaning, rinse the area with warm water and dry with a soft cloth.
| Surface | Attachments | Steam time | After treatment |
|---|---|---|---|
| Chrome tap bases | Angled jet nozzle | 10–20 seconds per ring | Wipe with microfibre cloth |
| Shower head nozzles | Round brush | 15 seconds per head | Rinse with hot water |
| Toilet base | Round brush | 10 seconds externally | Scrub with brush, then wipe |
| Glass shower screen | Squeegee attachment | Fast pass, 30 cm per second | Wipe dry immediately |
| Mirror surface | Cloth or squeegee | Light pass | Polish with dry cloth |
| Drain cover | Angled jet nozzle | 10 seconds around edge | Scrub with nylon brush |
Mirrors are often the hardest surface to clean because any water left behind becomes a visible spot. With a steam cleaner, the procedure is straightforward if you use a squeegee attachment. The steam loosens the film of toothpaste, hairspray, and soap that builds up on mirror glass. Then the squeegee removes the condensation before it can dry.
Hold the steam nozzle 10–15 cm from the mirror and sweep across the glass in one horizontal pass. Only cover a small area first. Then, immediately pull the squeegee downwards in a single, smooth motion. Wipe the rubber blade with a dry cloth after every stroke. If the blade is wet, it leaves streaks. Continue section by section, working from top to bottom. At the end, polish the mirror with a clean, dry microfibre cloth. This should leave it glass-like with no water spots.
For glass shower screens, the procedure is similar. Start at the top rail and steam down vertical panels. Use the squeegee on each panel right after steaming. Pay special attention to the bottom edge where water pools, because this area usually has the most limescale. If you find a thick white line along the bottom edge of a glass panel, steam it for 15 seconds, then use a plastic scraper to nudge the scale, and wipe with a damp cloth. If you do not remove the scale at this stage, over time it will permanently etch the glass surface, which is not reversible.
The silicone seal between the screen and the tray often becomes brown or black. Steam will soften the soap scum and mould on the surface, but it cannot repair degraded silicone. If the seal has gaps or cracks, replacing it is the only lasting solution. Steam cleaning keeps it visibly fresher, but the underlying rubber still ages.
The toilet is one part of the bathroom where every household wants a thorough clean. Chemical cleaners are effective, but they come with strong fumes. Steam gives you an alternative that is effective on the visible surface and does not introduce new chemicals into the room. It is not, however, a substitute for flushing and regular brushing. The process described here targets the exterior and the areas immediately under the rim.
The underside of the toilet rim is notorious for a dark, crusty build-up. Urea and hard water salts form a hard layer that clings to the porcelain. Use the angled nozzle to direct steam upwards from below the rim. Shift the nozzle along the width of the opening, spending about 5–10 seconds on each segment. The steam will loosen the build-up, and the water that condenses will run down the bowl. Then, use a long-handled toilet brush to scrub the rim while the surface is still warm. You may need to repeat the process two or three times. After each cycle, flush the toilet to remove the residue.
A note on the flush valve: never point steam directly at the flush components inside the tank. The heat and moisture could damage the plastic parts or the rubber seal. If you want to sanitize the outside of the tank, sweep the steam lightly across the tank surface and wipe it off immediately.
The base of the toilet, where it meets the floor, collects soap, dust, and hair. Apply steam along the caulk line for about 10 seconds. Use a small brush to clean the gap between the porcelain and the floor. The steam will soften the dirt and make it easy to wipe away. If there is old caulk with mould inside, the steam cannot kill the spores that are already below the surface. You may need to remove and replace the caulk if you see black growth.
For metal hinges, it is best to use steam at a wider distance. Leave a gap of at least 10 cm when steaming chrome or brushed nickel hinges, and wipe dry immediately after the steam pass. Prolonged heat can dull the finish, and the condensation can spot them if not wiped.
Bathtubs and shower trays come in several materials: glossy acrylic, porcelain enamel, fibreglass, and less commonly, natural stone or concrete. Steam cleaning works on all of them, but the time you keep the nozzle on any single point must be adapted to the material. Acrylic can withstand a quick pass, but a long targeted blast might soften the surface in rare cases. Porcelain and enamel can handle a longer session. Fibreglass and gel-coated glass can turn out fine if you wipe quickly and keep the steam moving.
Start by sweeping steam across the flat deck of the tub in long, even passes. The goal is to warm the entire area so that the soap scum softens. After a few passes, switch to the round brush attachment for corners, edges, and around the drain. Work section by section, and use a dry cloth to wipe off the cloudy residue that appears. On a textured tub floor, the brush helps release dirt from the grip pattern. The grip pattern often traps soap, and a sponge cannot remove it. Steam plus a stiff nylon brush can.
If your tub has a polished edge, keep the nozzle at a wider angle. The heat is not a problem; the problem is that if the steam condenses into a heavy droplet, it can leave a mark. Wipe the polished edges with a soft cloth and dry them immediately.
Shower tray drains are often clogged with hair and soap residue. Before you steam, remove any hair from the drain cover. Then direct the steam into the drain opening for 15–20 seconds, using the angled nozzle. The heat will soften the grease inside, and the steam will carry away a portion of the odour-causing film. After steaming, run hot water from the tap for 30 seconds to flush the softened material. This is a simple maintenance step that keeps the drain flowing and reduces bad smells.
For sliding shower doors, the bottom track is the most neglected area. Dirt builds up in the narrow channel and makes the doors difficult to open. The angled nozzle is ideal for cleaning that groove. Steam the track, then use a small plastic scraper or a stiff brush to remove the grime. If the track has been neglected for a long time, you may need to use a mild soap and a narrow brush after the steam. Do not attempt to clean the rollers with steam, as the heat could damage the small plastic components. Remove the door if necessary and clean the rollers by hand.
The basin and vanity area of a bathroom tends to accumulate toothpaste splatter, hairspray, soap residue, and hard water droplets. Steam is very effective on the hard surfaces, but you need to be careful with the cabinet and any electrical outlet within reach.
For a ceramic basin, use a wide, sweeping steam application. Do not hold the nozzle directly over the drain hole for a long time, because the drain collar may be glued into place. The heat can weaken the adhesive. Instead, angle the steam across the rim and down the sides. Allow the steam to condense into a thin film, then wipe with a dry cloth. Repeat until the white hard water stains around the tap are no longer visible.
For a brushed nickel or matte black tap, use the cloth attachment to avoid water spotting. The matte finish is forgiving, but a chrome finish will show every mark. Wipe the tap immediately after steaming with a clean, dry microfibre cloth. If the tap has a complicated shape, wrap a dry cloth around a small brush and polish the exposed surfaces.
For a cabinetry front, use steam only if the cabinet has a high-quality sealed finish. If you see any signs of the cabinet surface darkening, stop at once. MDF with a vinyl wrap can deform if the steam stays on it too long. The right approach is to use a damp cloth saturated with soapy water for the cabinet front, then use steam only for the hard surfaces like the countertop and the sink bowl. A countertop in quartz or ceramic is safe for steam in short bursts.
A blocked bathroom drain is usually caused by two things: hair and a sticky soap layer that holds the hair together. A steam cleaner cannot push a solid hair ball through the pipe, but it can dissolve that sticky soap layer, making it easier for the hair to be flushed out. This is particularly useful for basin overflows, which are difficult to reach with a regular cleaning tool.
Direct the steam nozzle into the drain opening at a slight angle. Let the steam enter the first few centimetres of the pipe for 15–20 seconds. The heat will soften the organic residue. Then run hot water from the tap for 30 seconds. The water flushes the softened material away. If the drain is still slow, you may need to use a mechanical snake or a suction plunger to pull out the hair. After you clear the blockage, make steam cleaning the drain a monthly habit. This simple routine extends the time between more serious blockages.
The corners of a bathroom floor, where the wall meets the tile, are often the darkest places in the room, especially in a shower. These corners are where mould grows. Use steam, followed by a short burst of the round brush, to clean the corner bead and the floor edge. The steam will remove surface mould and the soap scum that feeds it. It will not kill the roots that have grown into the grout, so if the mould keeps coming back, the grout may need to be treated or replaced. Never use steam directly on an area where the grout is peeling or pitted; the heat can push water into the gap and cause more damage.
It is useful to understand exactly what steam cleaning does better than chemical cleaning, so you know when to reach for the steamer and when you need another approach.
Chemical cleaners are designed to dissolve a specific type of deposit. A descaler dissolves limescale, a bleach product whitens tiles, and an alkaline foam dissolves soap scum. They work well for a single task, but they often require a separate product for each problem. Steam is a broad-spectrum physical cleaner. It loosens most of these deposits by heating them, without introducing a chemical reaction. This means you can clean the whole bathroom with one tool, as long as you are prepared to wipe.
Steam is also faster in many scenarios. For example, to remove soap scum from a shower screen, you could spray a foaming cleaner, wait 10 minutes, scrub, and rinse. With steam, you do a quick pass and then wipe the screen, taking about one minute. On large surfaces such as wall tiles, steam cuts down the scrubbing time because the heat breaks the grime faster than waiting for a chemical to react.
Chemicals still have a place. For a heavily stained toilet bowl, a thick chlorine foam can be more effective than steam alone. For a deep limescale ring that has been sitting for years, a descaling gel will dissolve it in one application, while steam may require several sessions. If you choose to use chemicals, use them only locally and avoid mixing them with hot steam, because some ingredients become volatile when heated. And always ventilate.
This is a table that summarises the practical limits of steam cleaning on common bathroom materials. The information is based on general household use and not on a specific manufacturer’s warranty. Always read the care instructions for your own fixtures.
| Surface | Tolerance | Best attachment | Steam recommendation |
|---|---|---|---|
| Ceramic / porcelain tile | High | Round brush / cloth attachment | Safe at full heat, but keep moving |
| Natural stone (marble, slate) | Low | Soft cloth only | Use short bursts on grout only; test first |
| Chrome / polished brass | Medium | Cloth attachment | Wipe immediately; avoid long stationary heat |
| Acrylic / fibreglass tub | Medium | Wide nozzle | Quick passes only; no concentrated jet |
| Mirror glass | High | Squeegee | Safe, but wipe before the moisture dries |
| Wood veneer cabinet | Low | None | Avoid; use a damp cloth instead |
| Melamine cabinet | Medium | Cloth attachment | Brief exposure, wipe dry immediately |
If you clean your bathroom with steam regularly, the machine itself needs regular care. The most common cause of a weak steam output is limescale build-up inside the heater. This is particularly important in areas with hard tap water. You can see white flakes coming out with the steam, or the steam flow becomes uneven. Both are signs that the heater channels need to be descaled.
Most manufacturers recommend a descaling procedure every 20–30 uses, depending on water hardness. A simple white vinegar solution or a commercial citric acid solution can be run through the steam chamber. Follow the instructions for your model, and never run any descaling agent at full heat if the manual says otherwise. After descaling, run a couple of full tanks of clean water through the machine to rinse the circuits.
Some newer machines have a self-clean function that automatically flushes the heater with a small amount of vinegar. If your model has this feature, it saves you time and reduces the risk of incorrect handling. In the absence of a self-clean function, you can remove the rubber cap or the heating element cover according to the manual and clean it manually. Always unplug the unit before any internal maintenance.
Empty any remaining water from the tank after use. Let the machine cool in an open area. Wipe the electrical contacts on the cleaner and accessories. Store the unit in a dry place. The nozzle and brush attachments should be cleaned with warm water and a mild soap; avoid putting them in the dishwasher. Check the silicone seals periodically, especially if the machine has been used a lot in an area with hard water. If the seals become cracked or brittle, replace them before they leak.
If you keep the steam trigger pressed during the entire job, you will flood the bathroom. A large puddle of hot water will spread the dirt everywhere, making it look worse. The correct approach is to use short, targeted bursts. Allow the steam to condense into the surface, then wipe. The heat does the work, not the water volume.
Natural stone, unsealed tile, polished brass, and some painted surfaces can be damaged by high-temperature steam. Always test on a hidden area. If you see a change after a few passes, stop. Some materials, like marble, are less tolerant because the heat can cause thermal cracking. If you are unsure about a particular material, use a cloth attachment and keep the nozzle further away, or use a lower steam setting if the machine has one.
It can be tempting to hold a cloth over the nozzle to “dry” the surface while you are cleaning. This is a mistake. When the nozzle opening is blocked, pressure builds up inside the machine, and the steam may be forced back into the water tank. This can cause the boiler to overheat and may permanently damage the heating element. Always leave the nozzle open, and use the steam brush attachments that let the steam flow through.
A soft brush on a dense grout line will not remove the soil. A stiff brush on a polished tile could dull the glaze. Use the attachment that matches the surface. For grout, a round nylon brush is appropriate. For glossy ceramic tile, use a soft cloth attachment or a squeegee. For inaccessible crevices, an angled nozzle is better. Choosing the wrong accessory is the most common reason people say that steam cleaning does not work, when in fact the tool is simply unable to interact with the surface as intended.
Cleaning a bathroom with a steam cleaner is a repeatable routine that cuts down on the use of harsh chemicals. Start with a warm-up pass on a small section of grout. Refine your technique in the areas that bother you most. With the right steam temperature, the correct attachment, and a dry microfibre cloth in your other hand, you can remove the accumulated shampoo residue, limescale ring, and soap scum that no sponge can.
If you are ready to choose a steam cleaner for your own bathroom, refer back to the product cards in this article. The biggest mistake you can make is selecting a unit based only on its appearance and not on the attachments, because a handheld steam cleaner with the wrong brush or an angled nozzle that is missing is almost as tough to use as a bucket and a sponge. The cleaning process should feel like a series of short, efficient passes, not a long, wet battle.
Use the steam, wipe quickly, and let the heat do the hard part.
Related Products

Address
East Zone Development Zone Lingshan Town Yuyao City Zhejiang P.R.C.
Tel
+86-18905840666 / +86-574-62067822
+86-15905848828
QR CODE
 Wholesale Multifunctional Steam Cleaner Manufacturers

 English
 Español